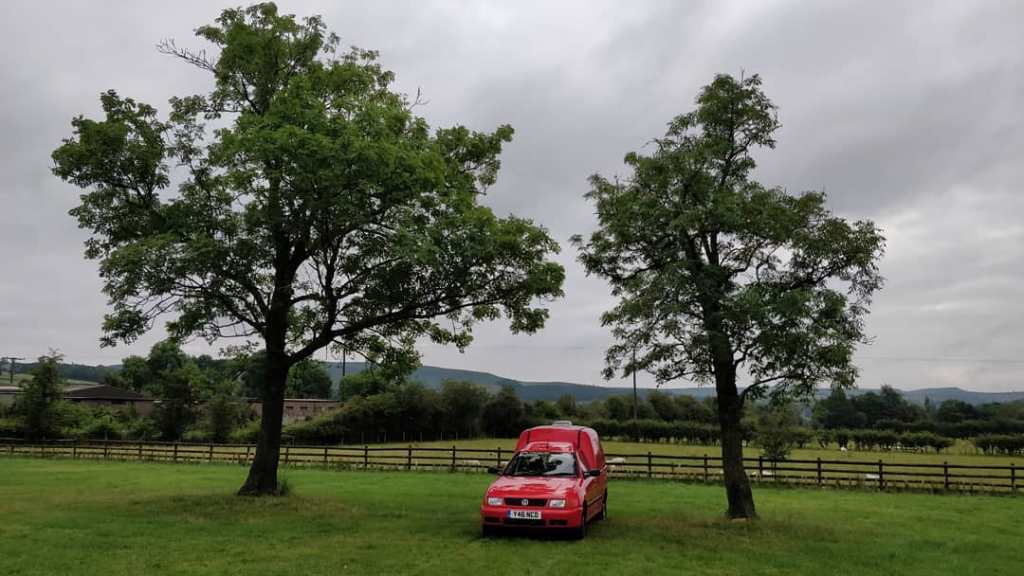
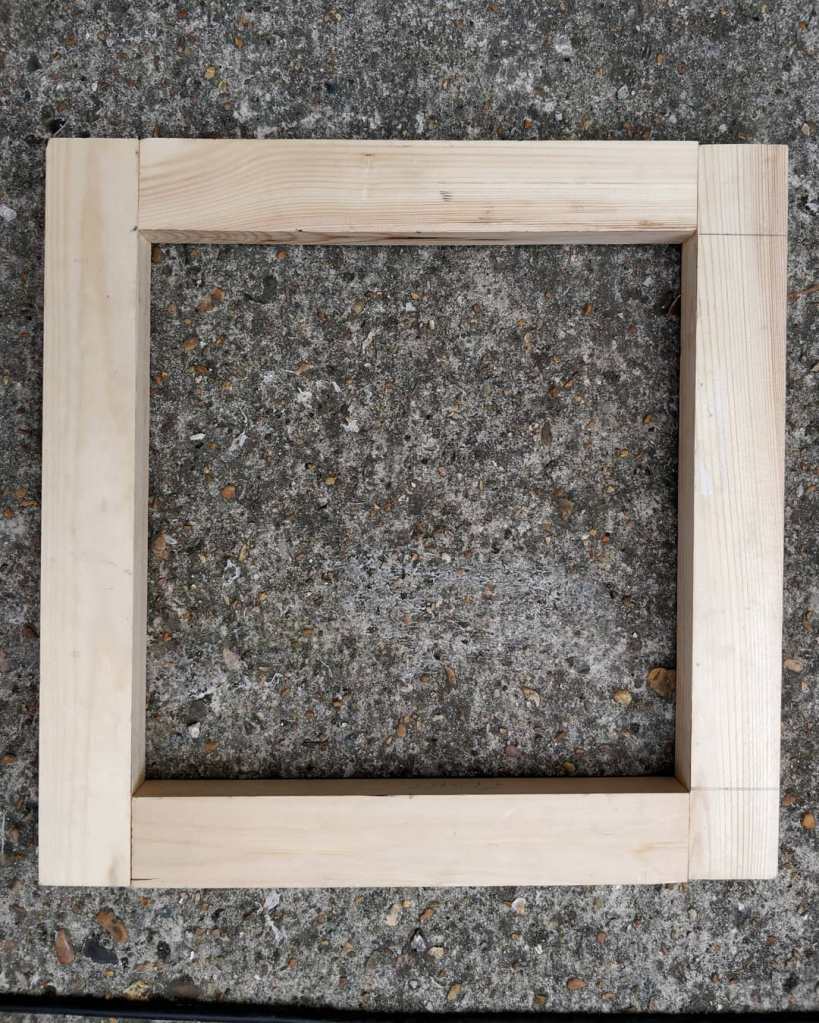
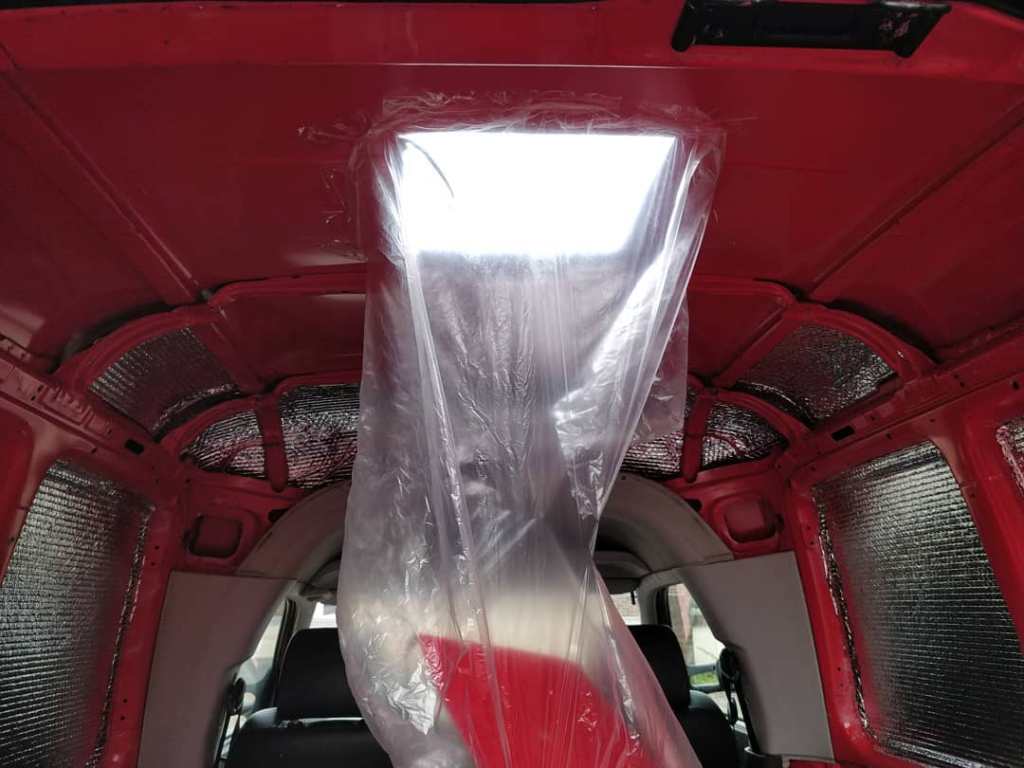
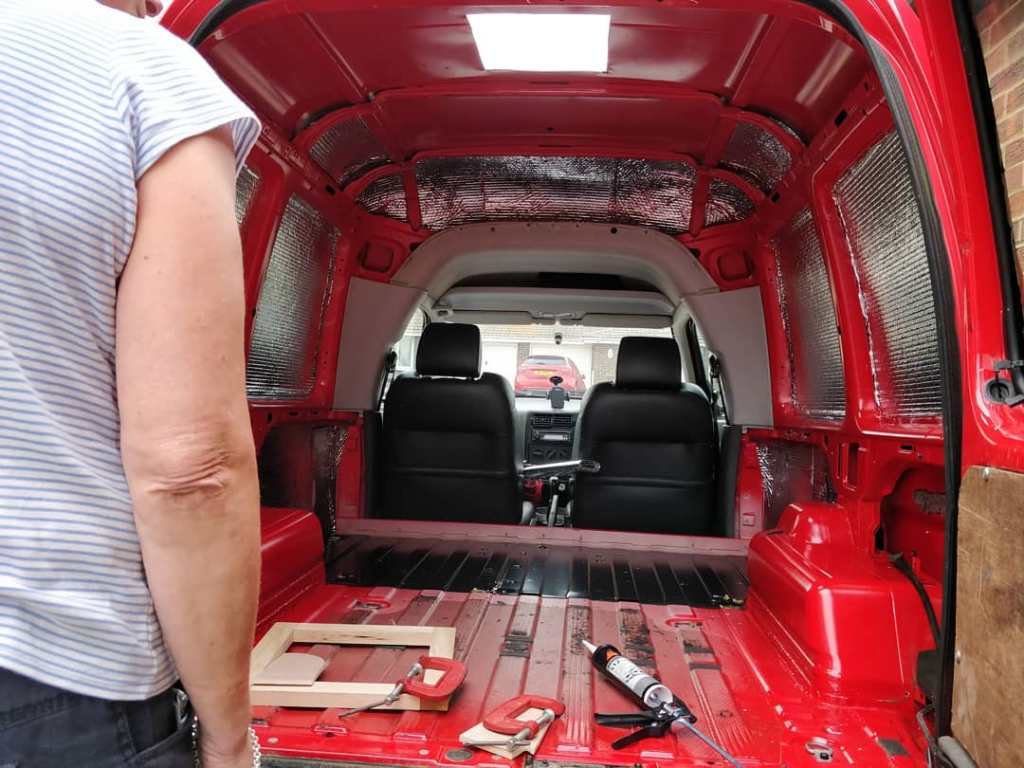
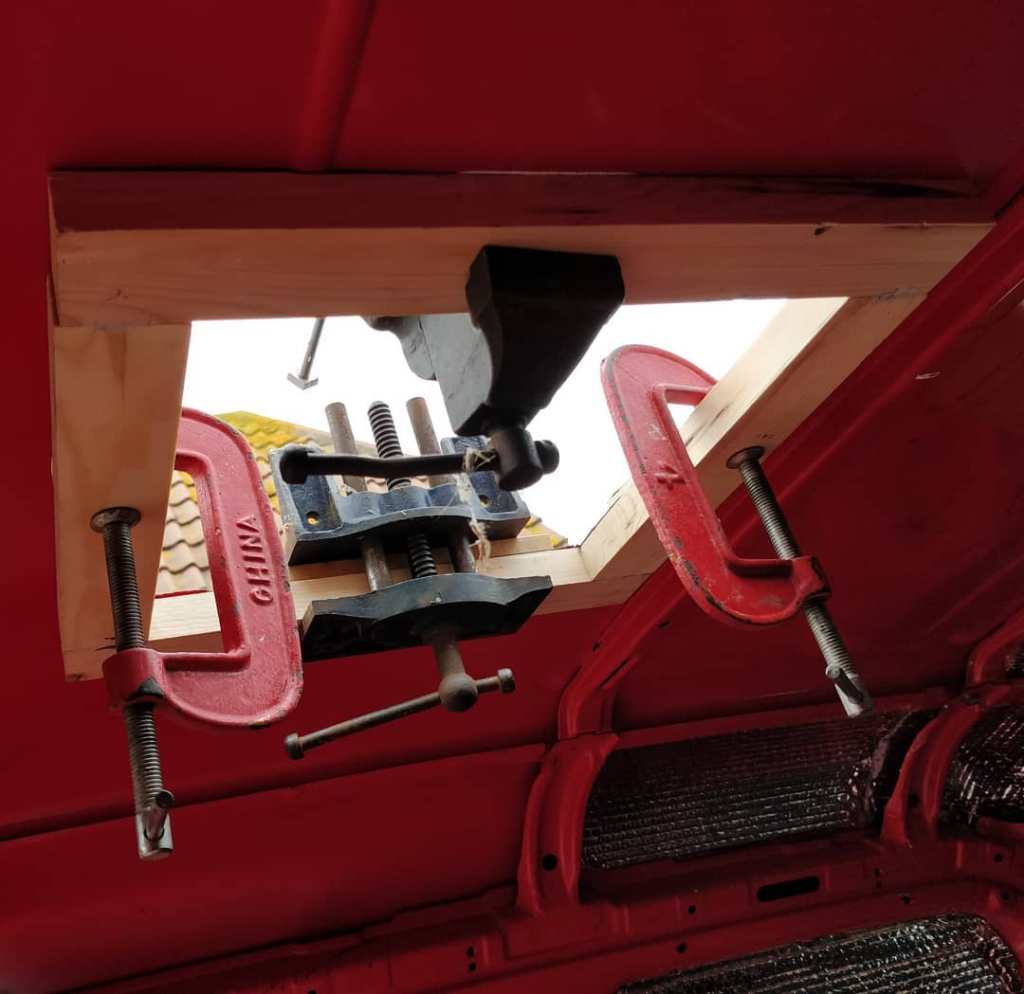
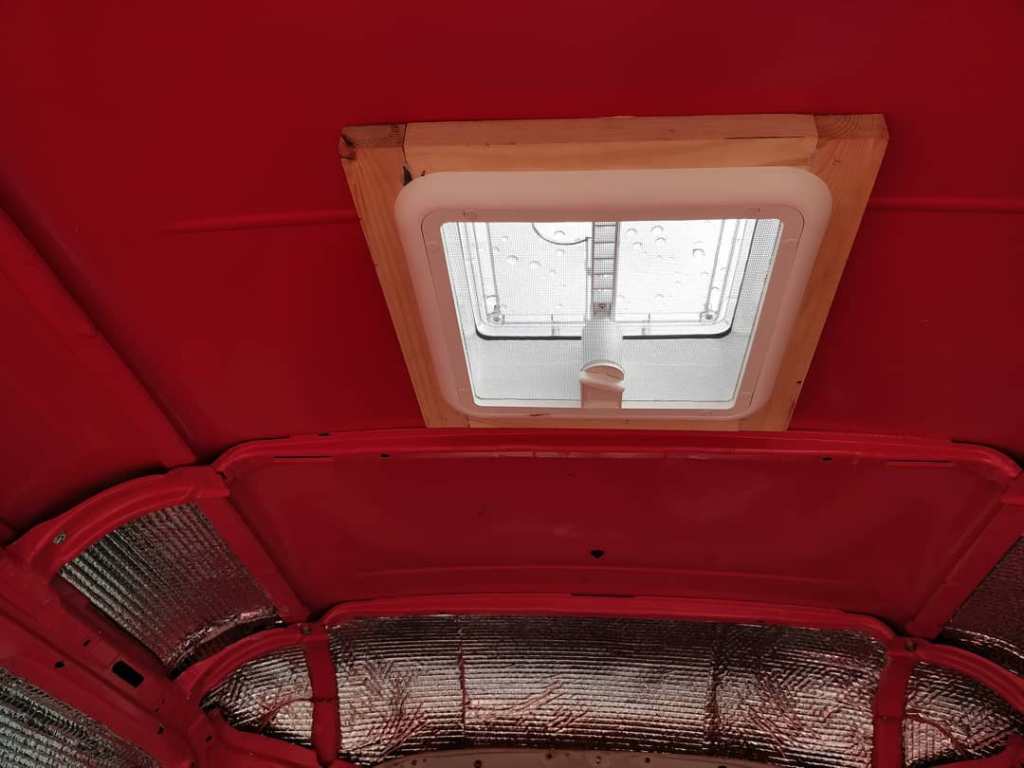
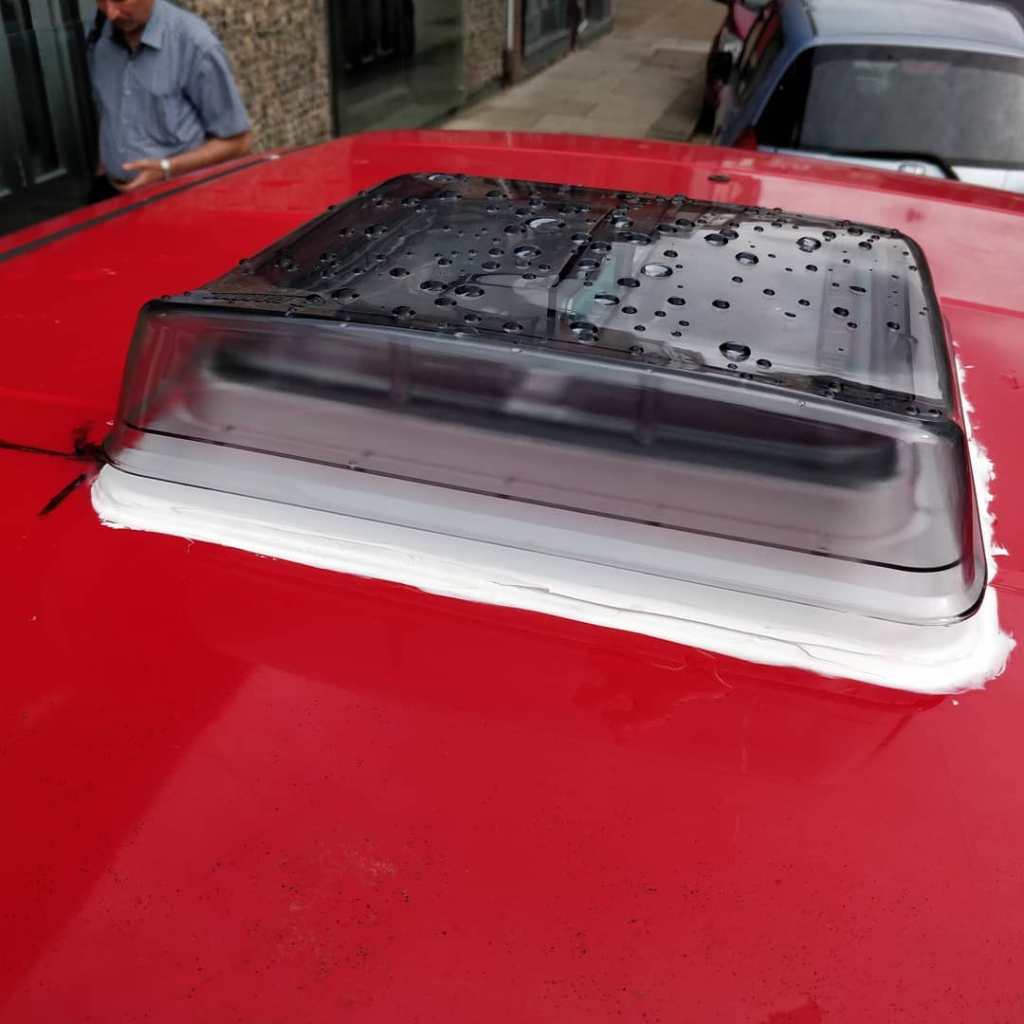
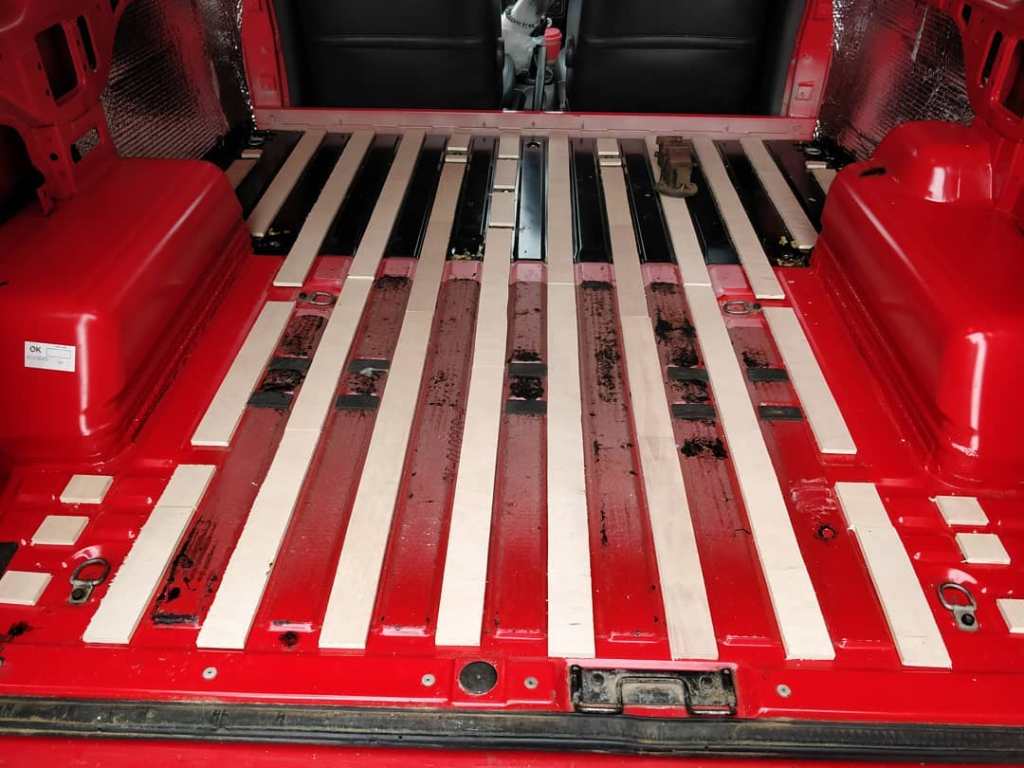
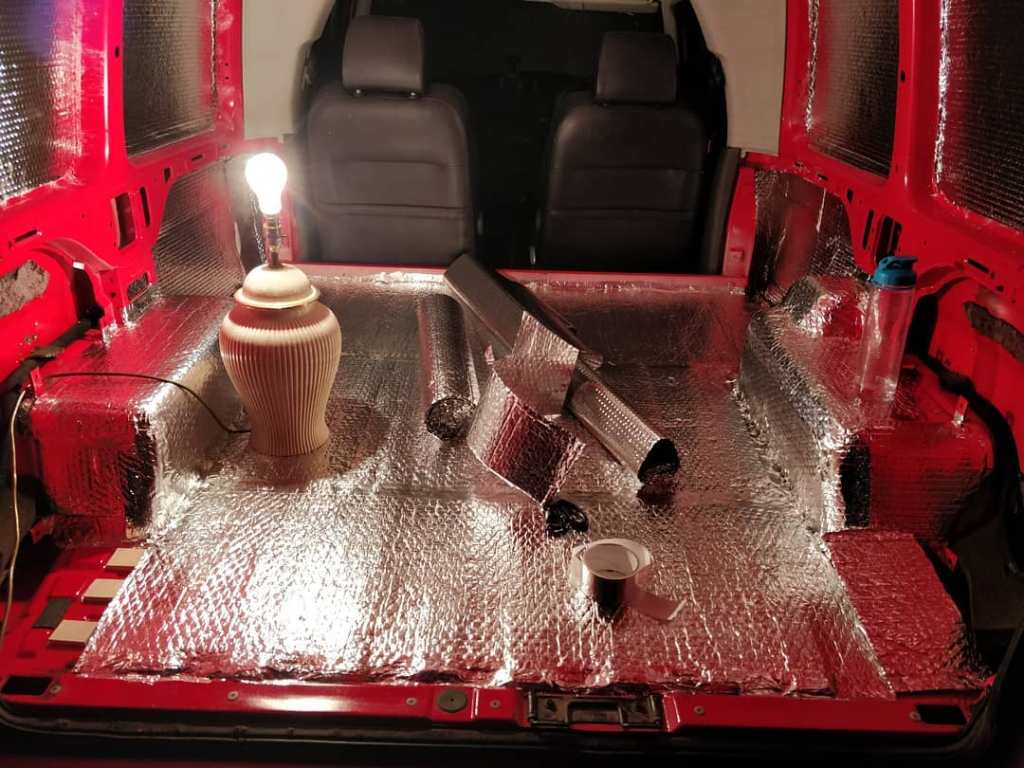
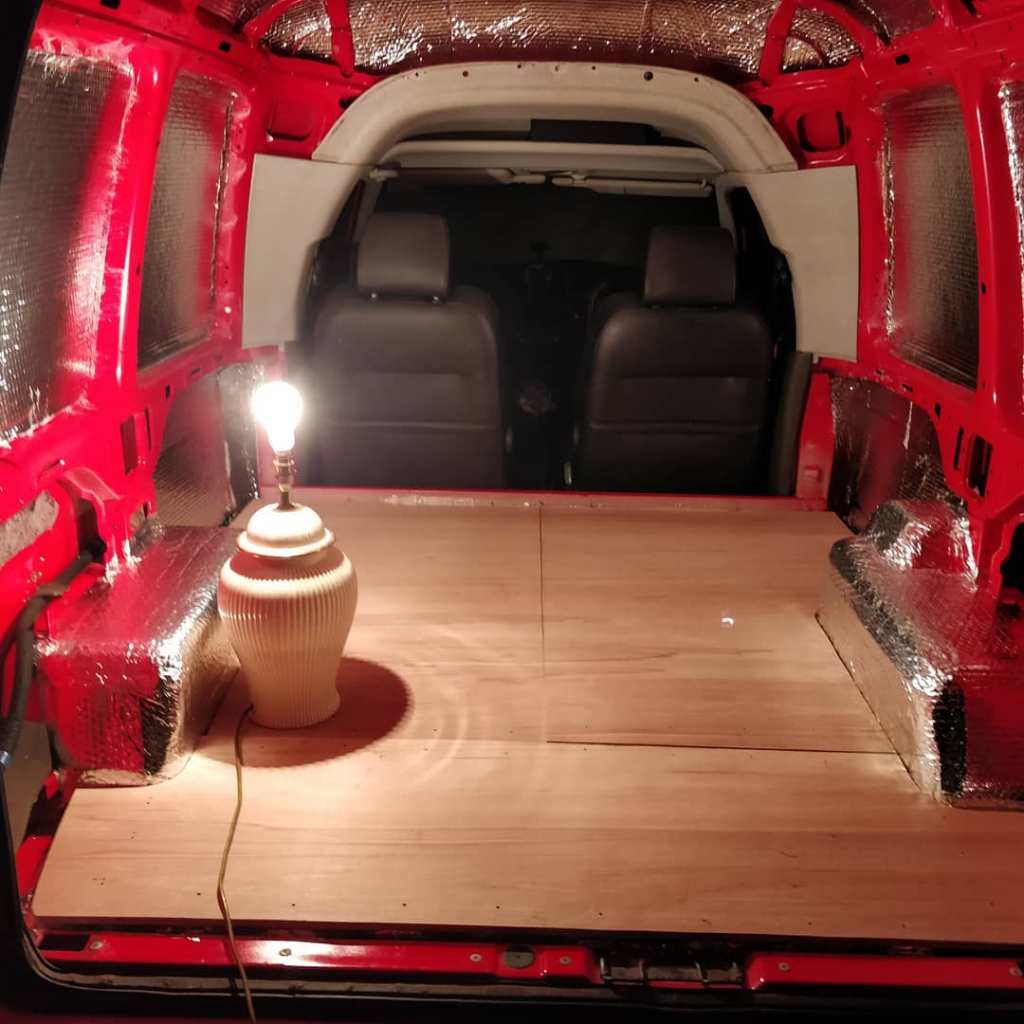
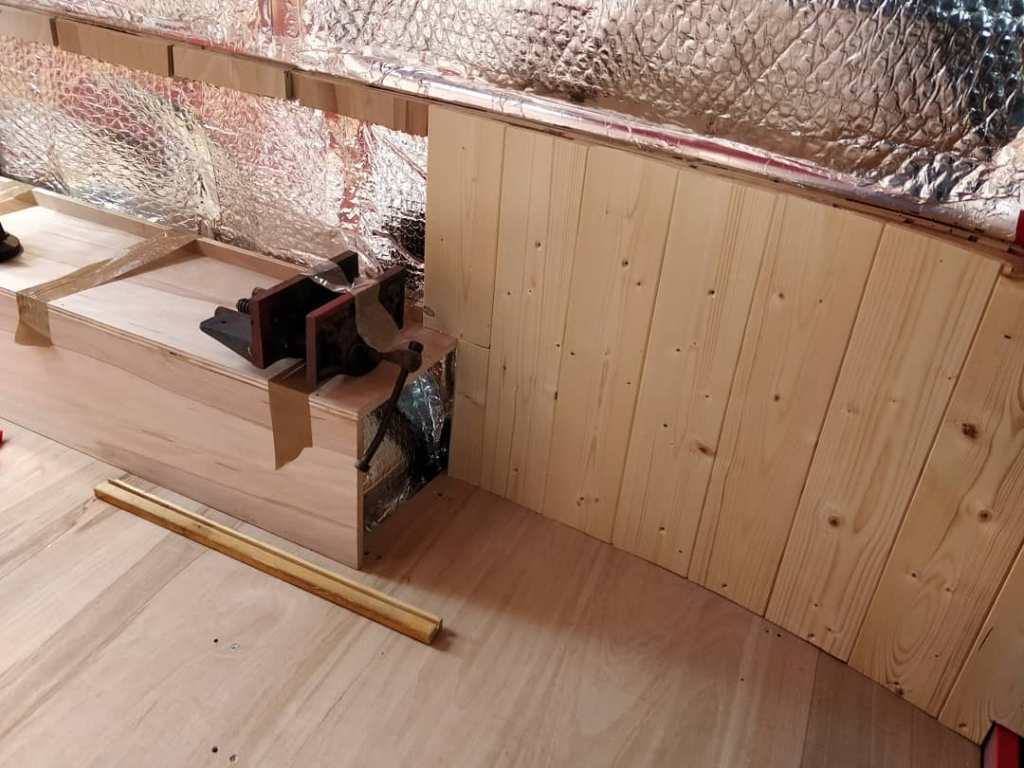
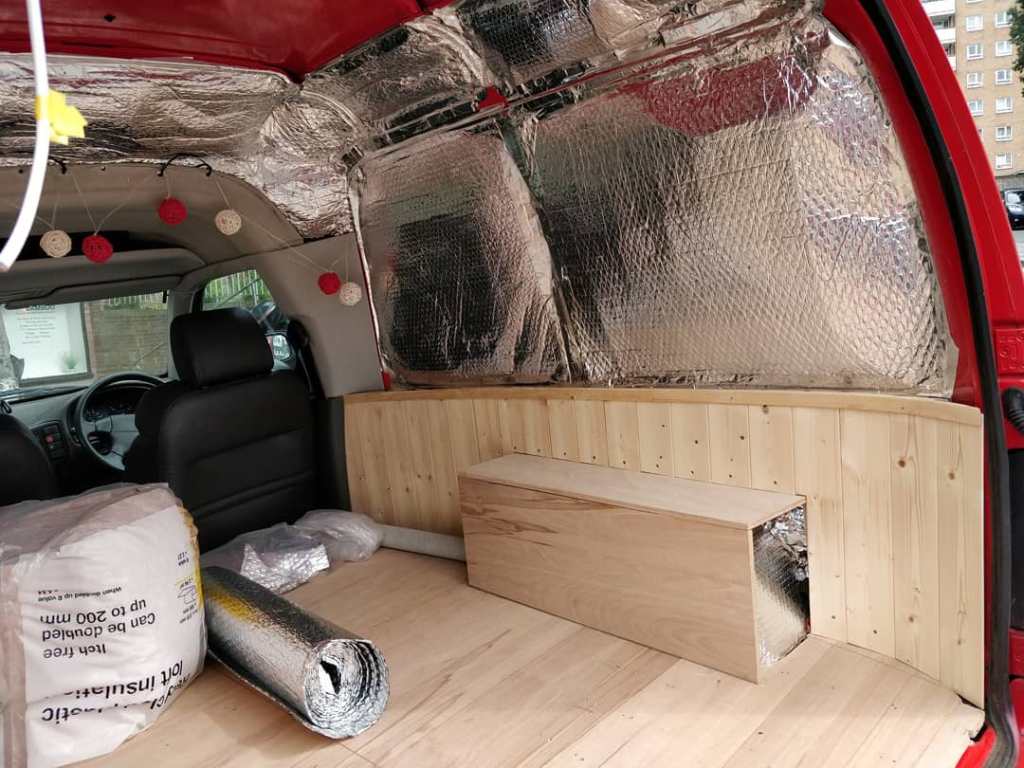
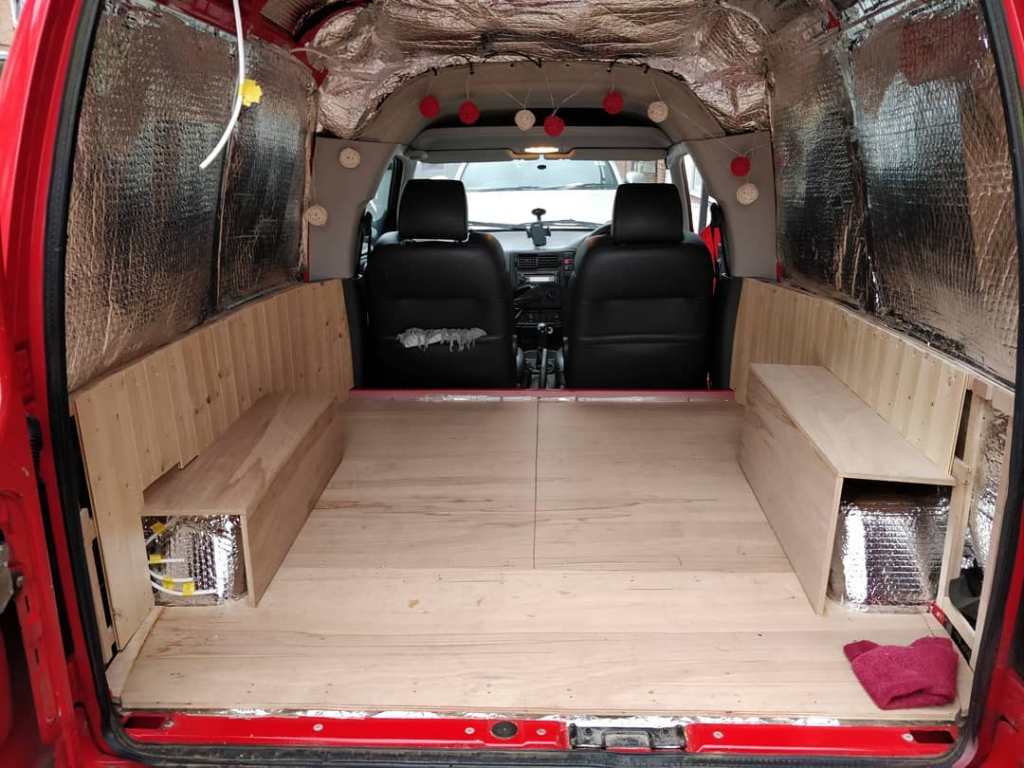
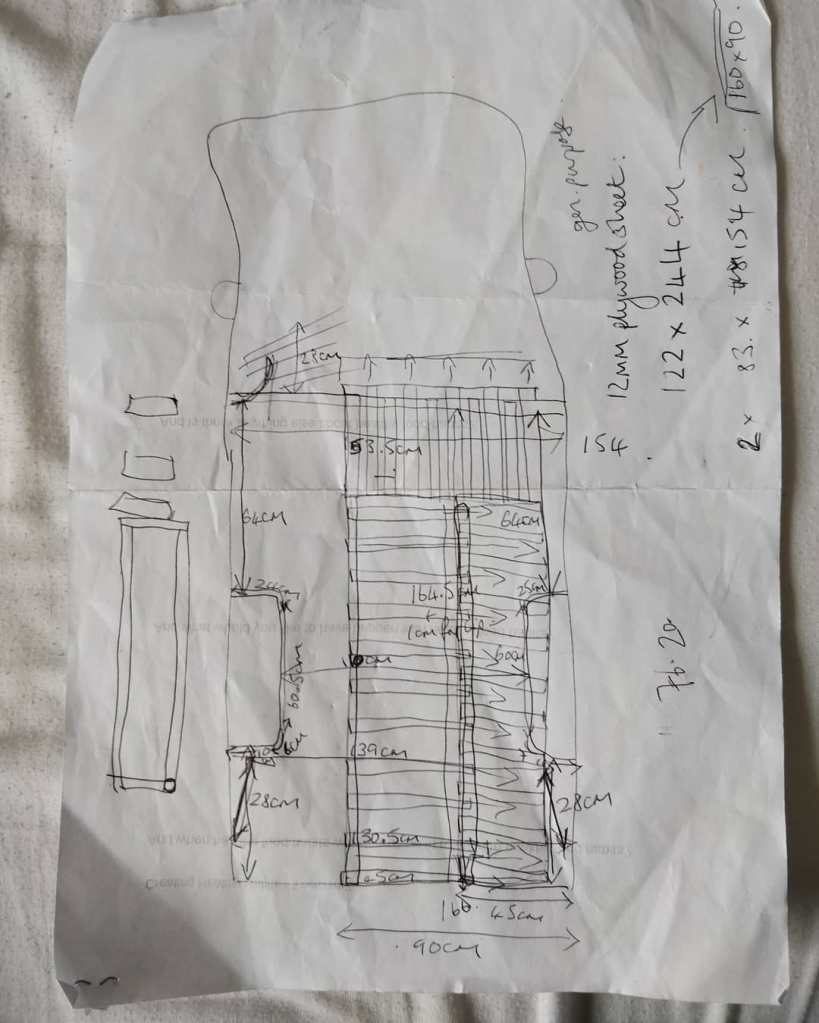
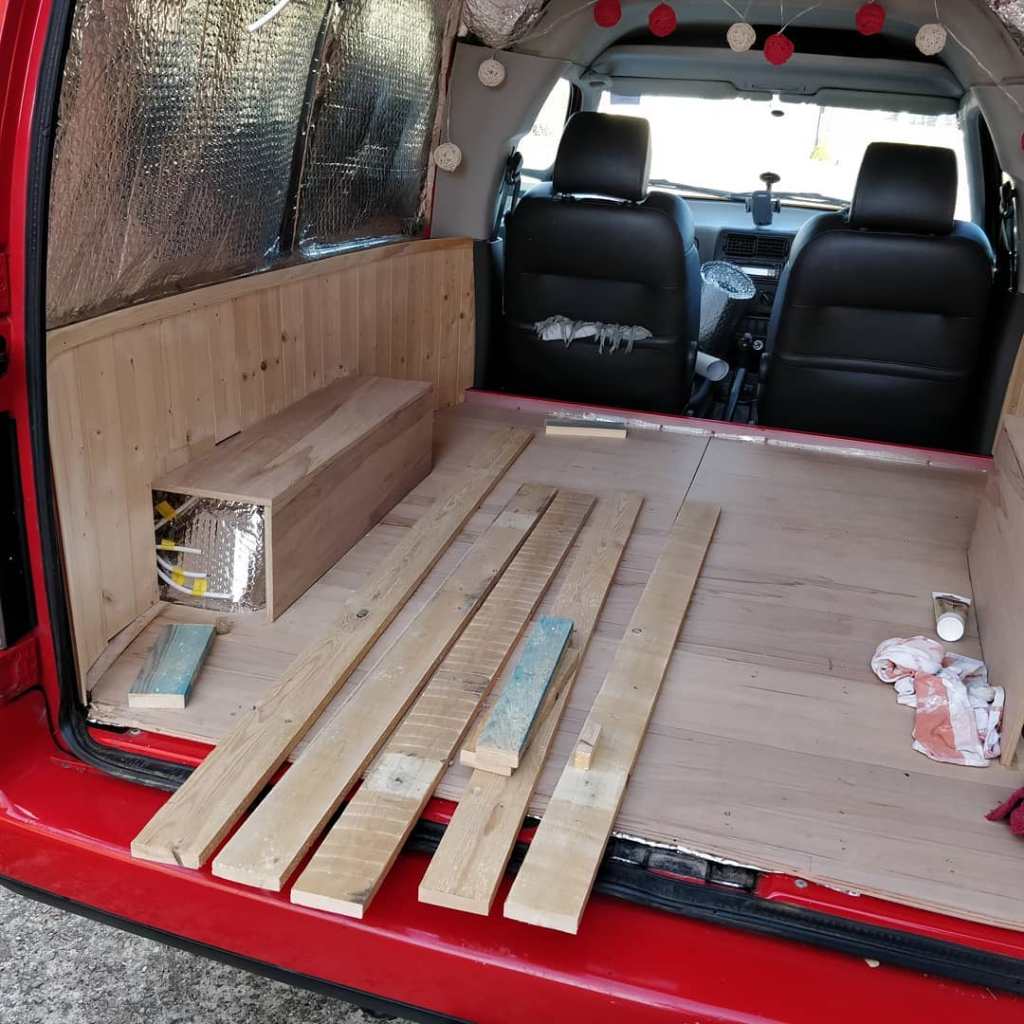
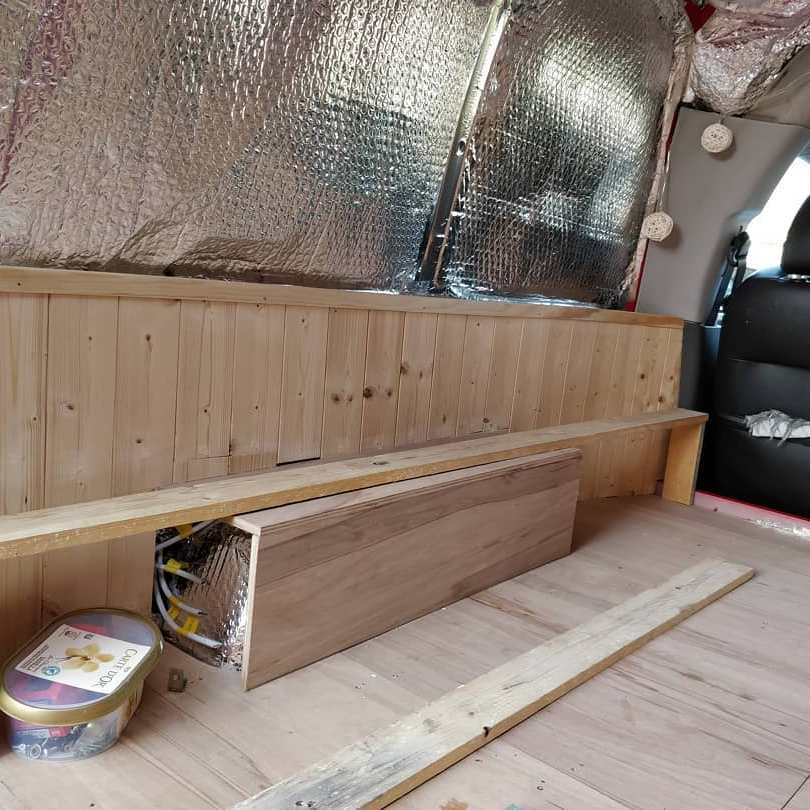
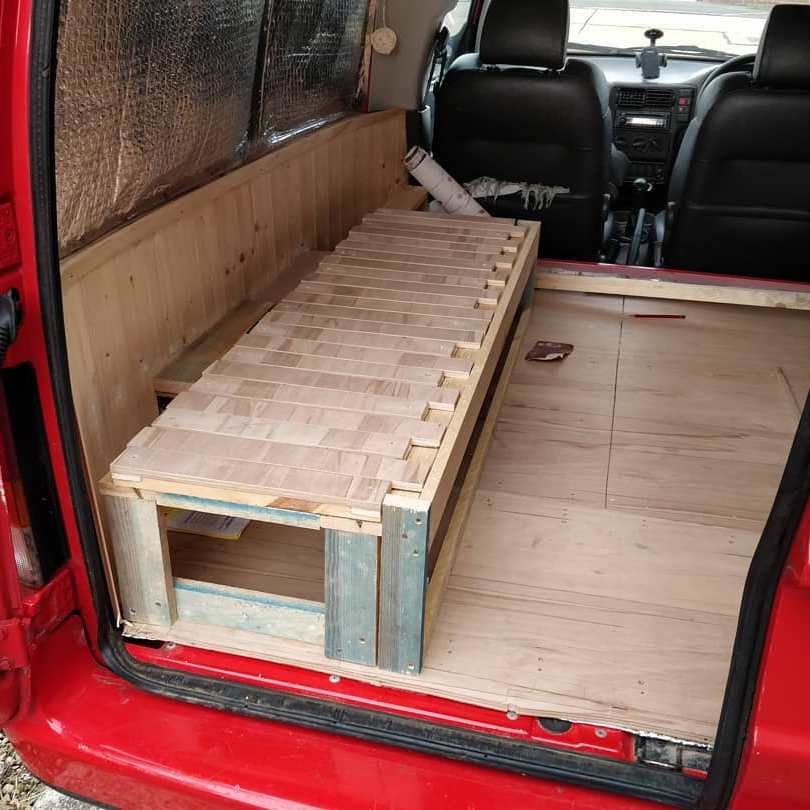
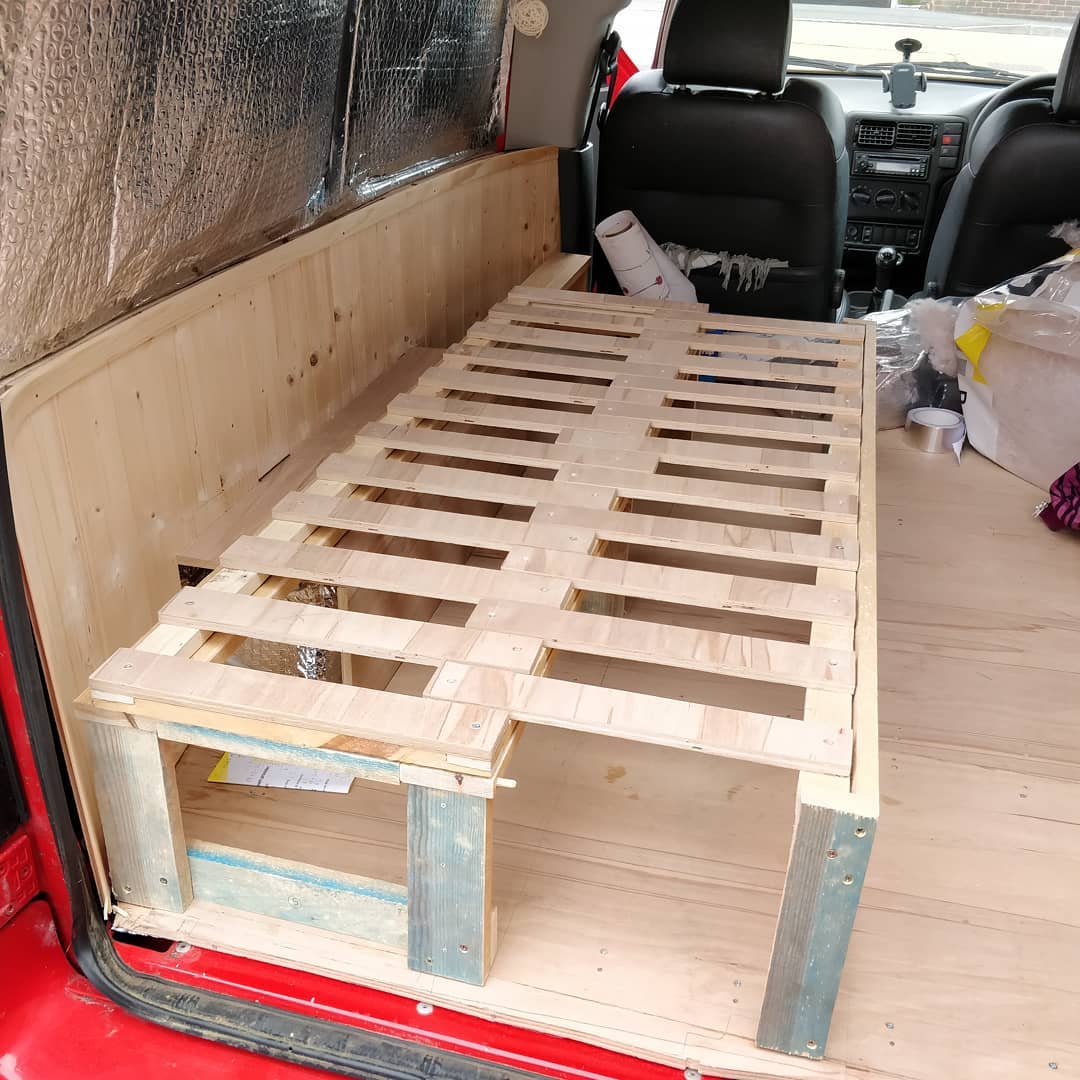
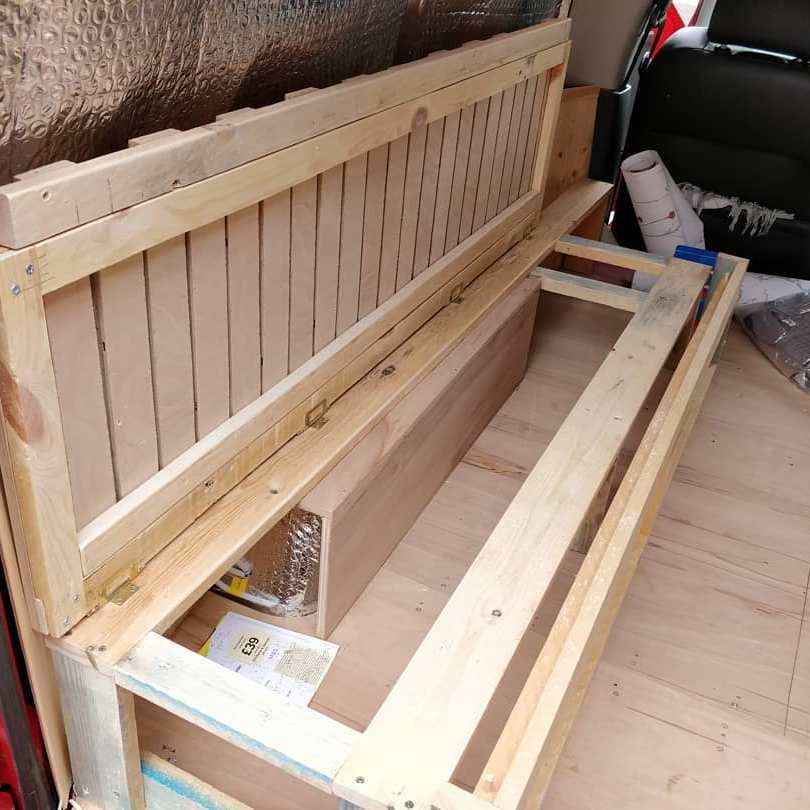
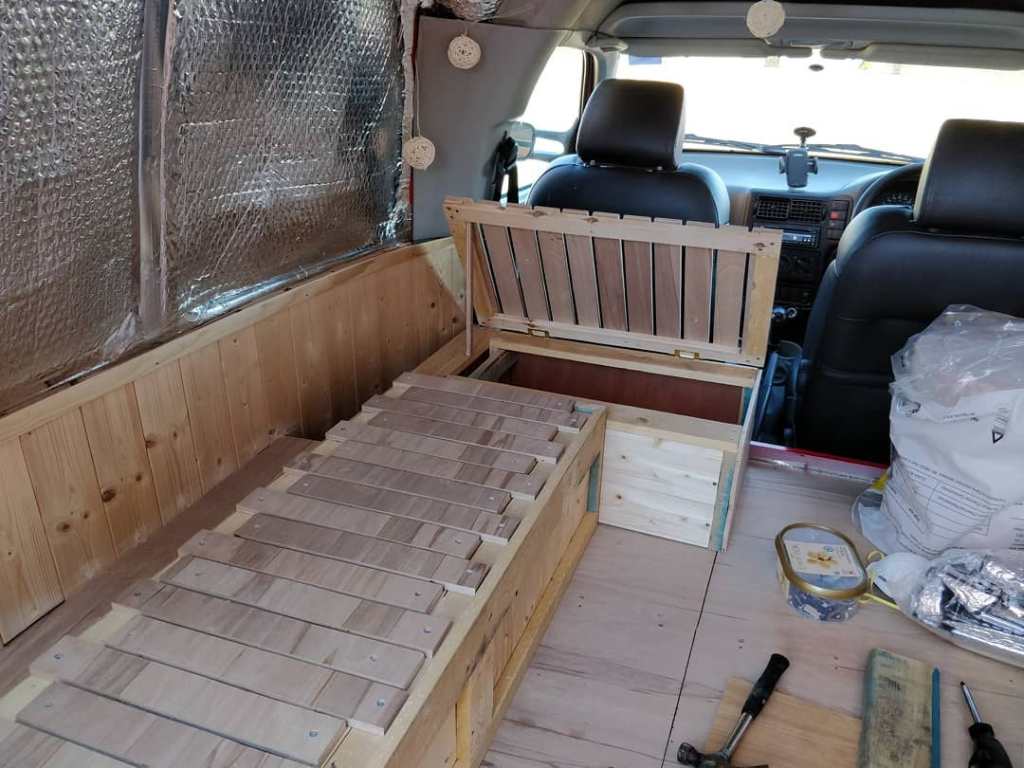
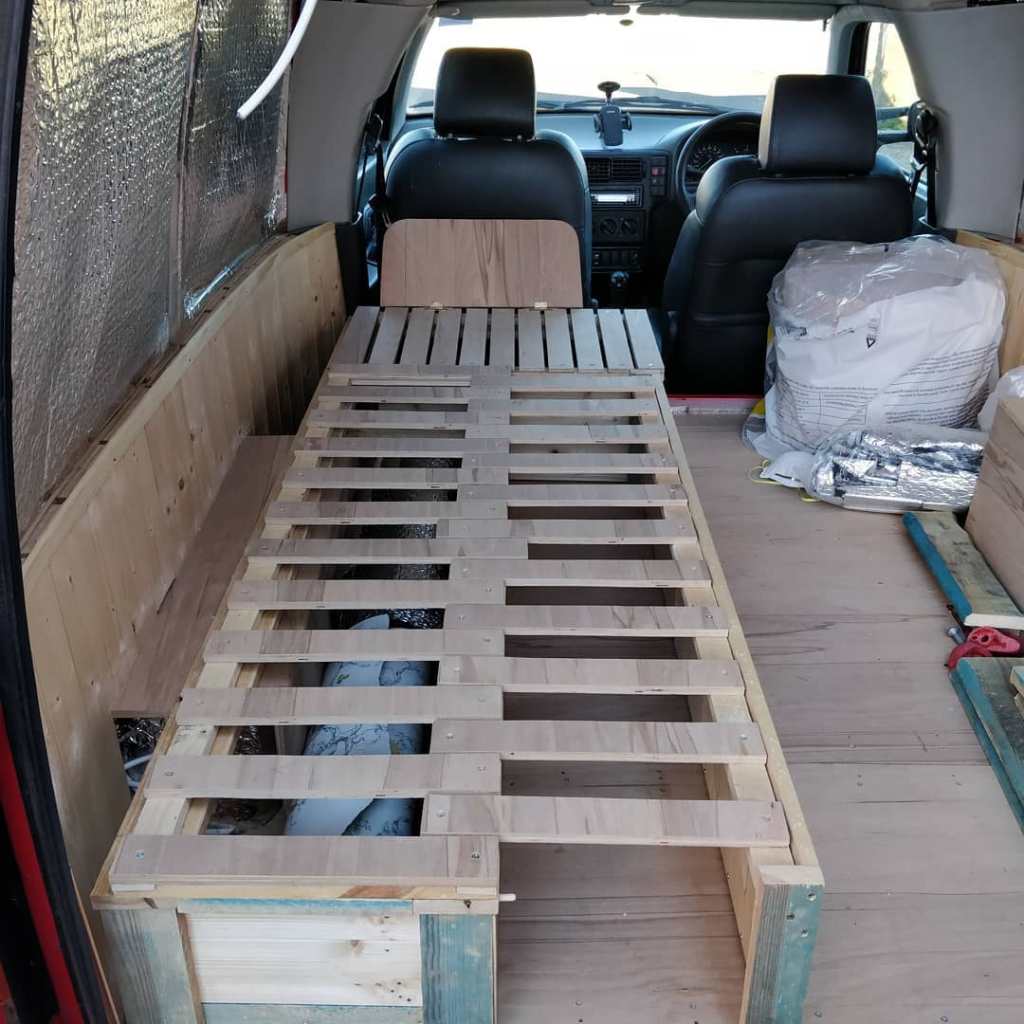
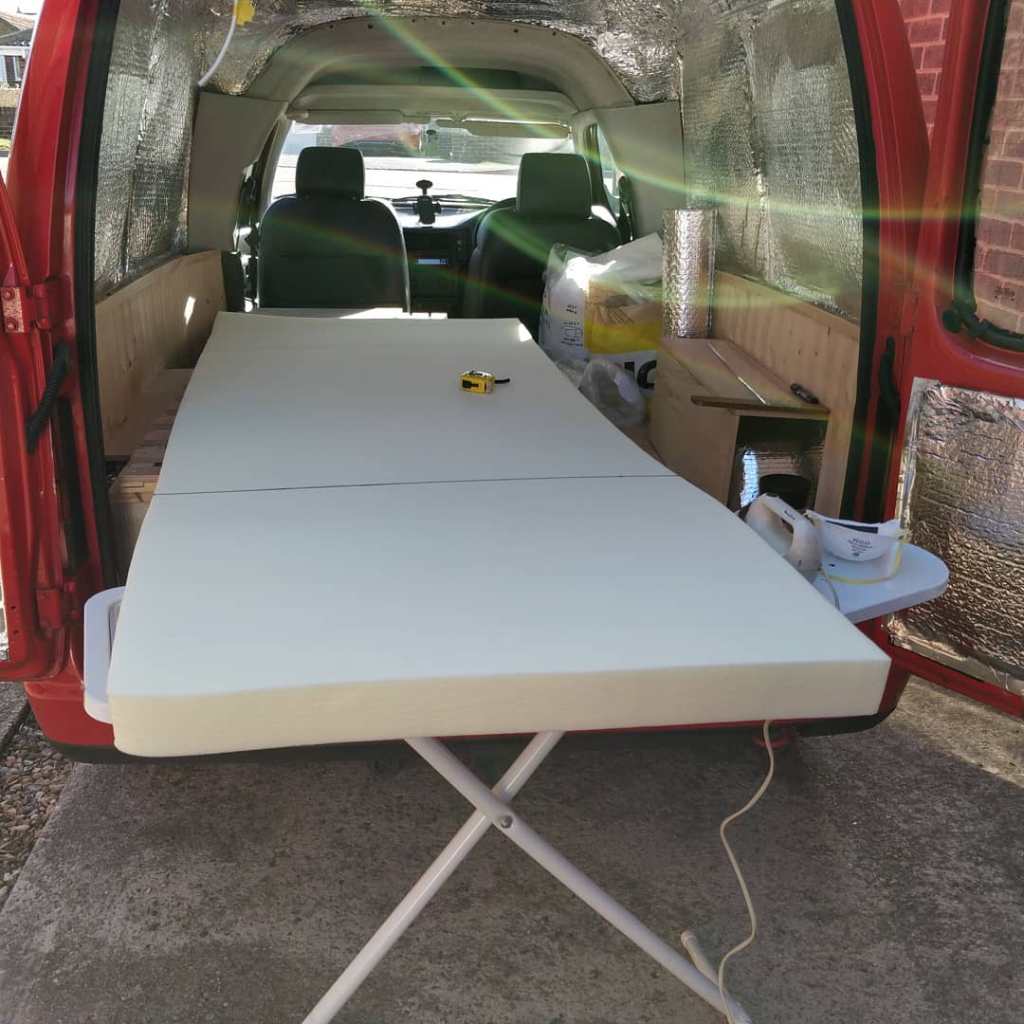
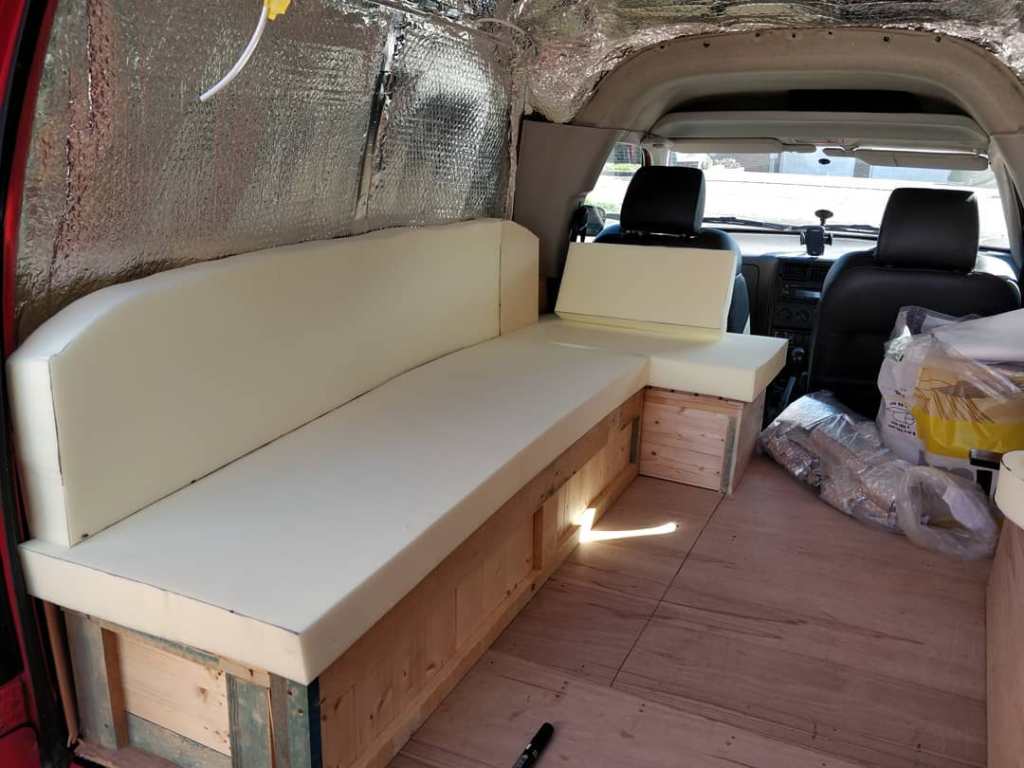
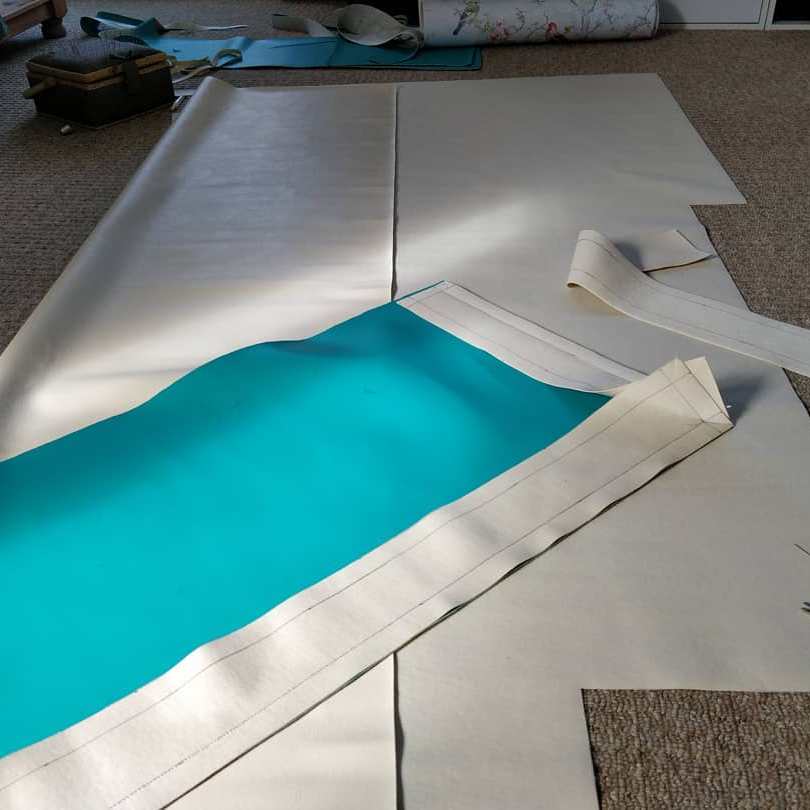
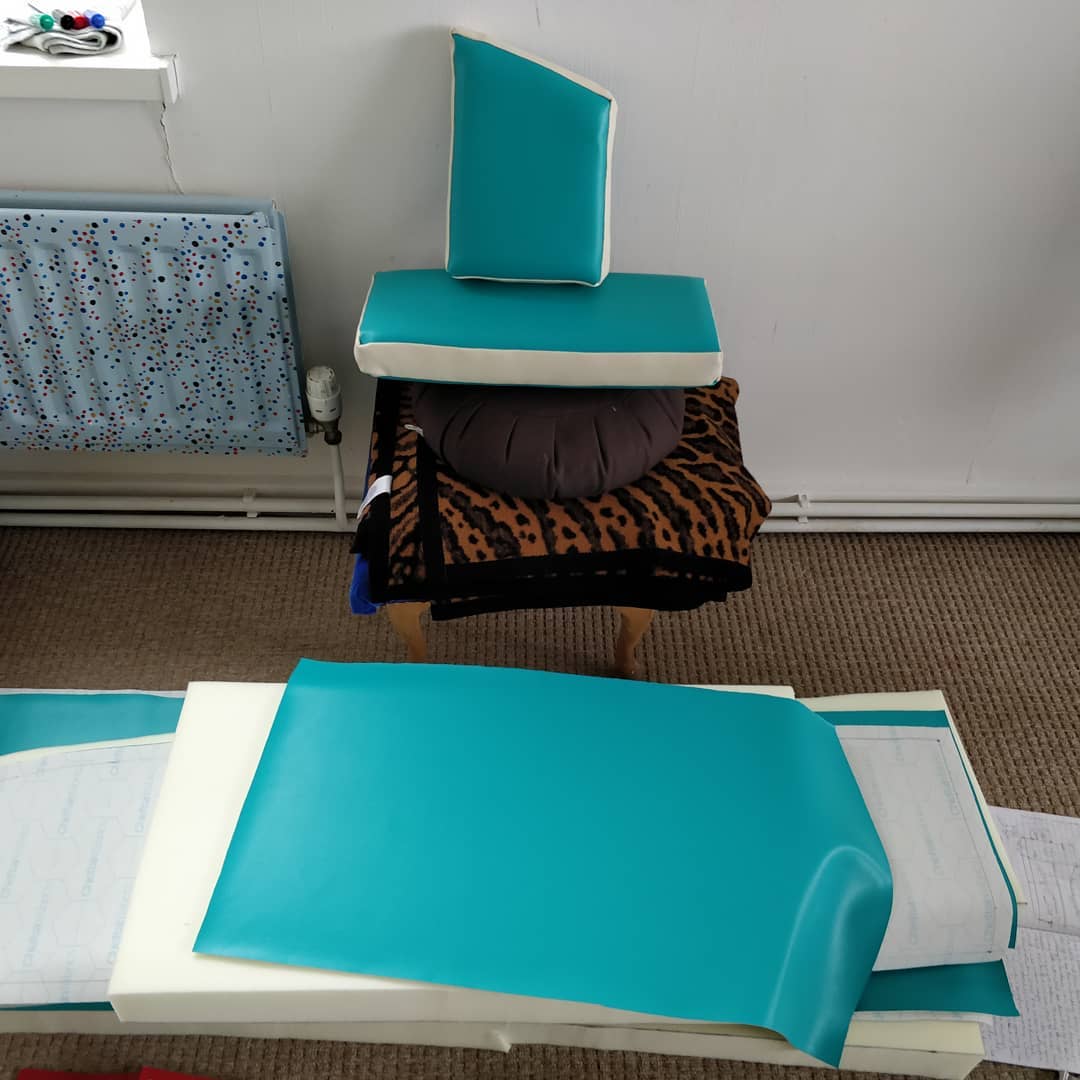
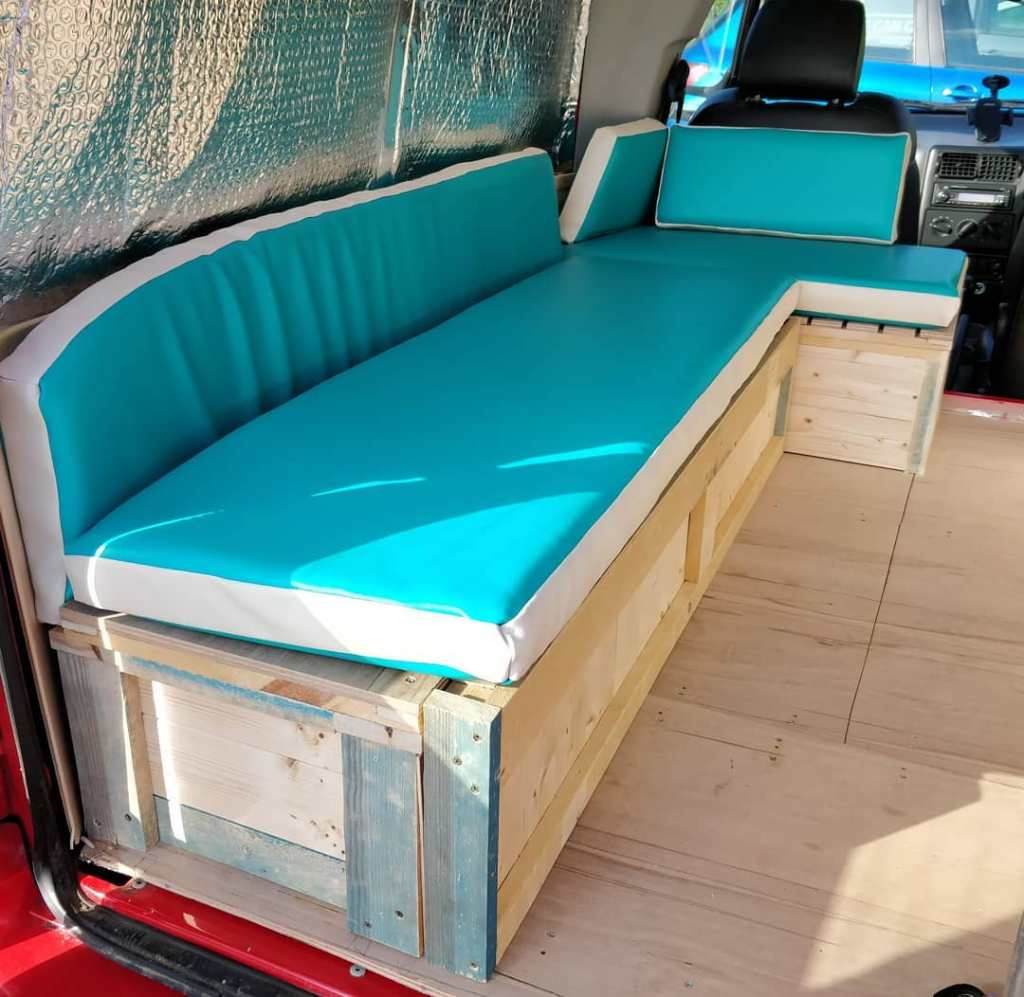
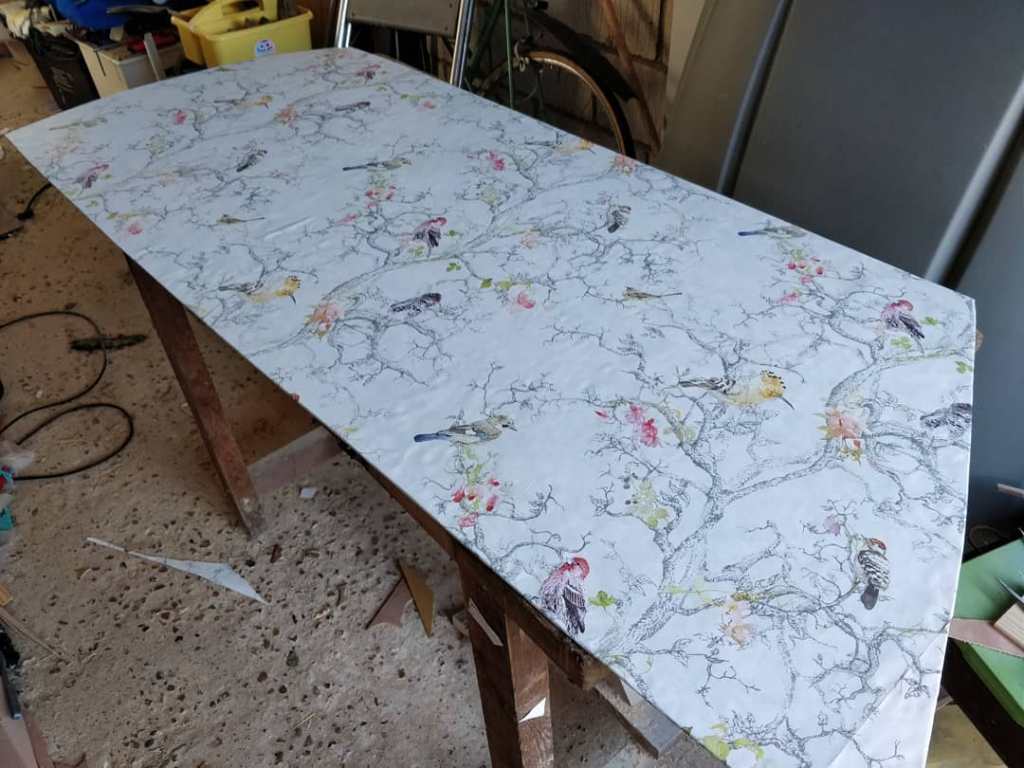
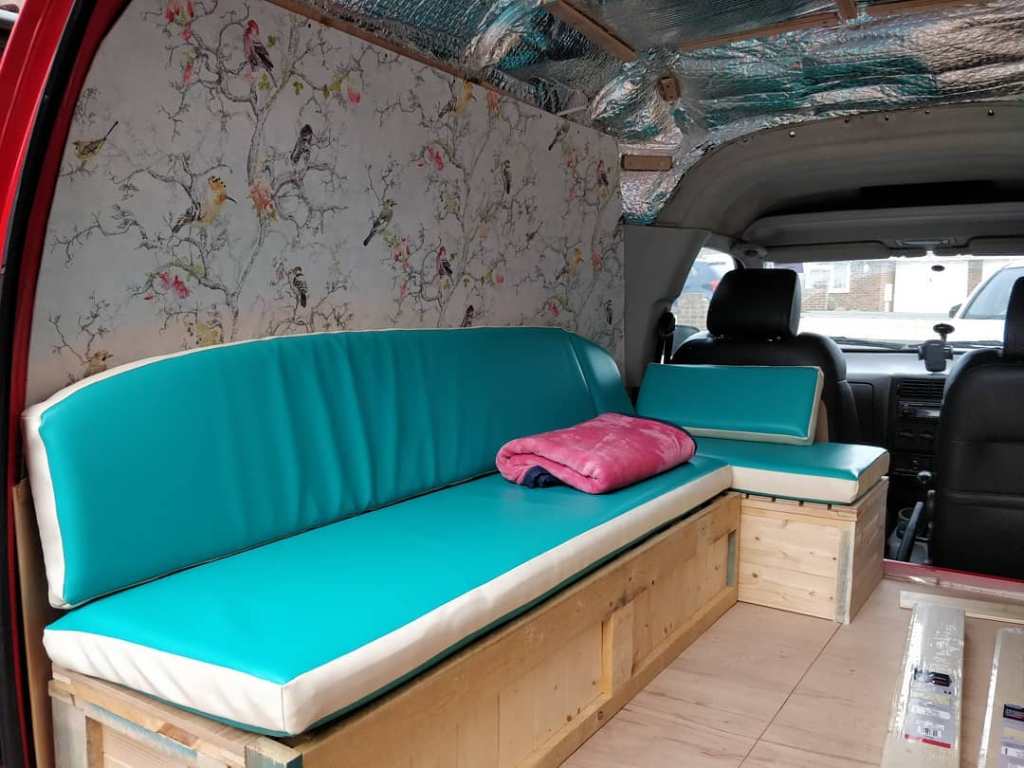
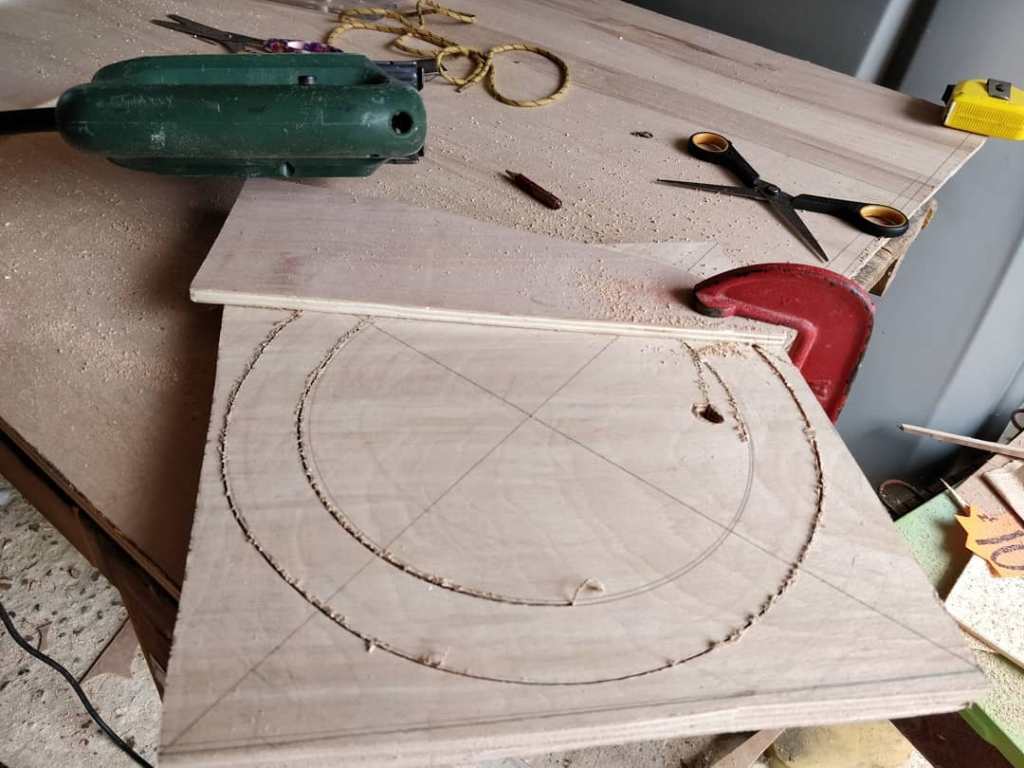
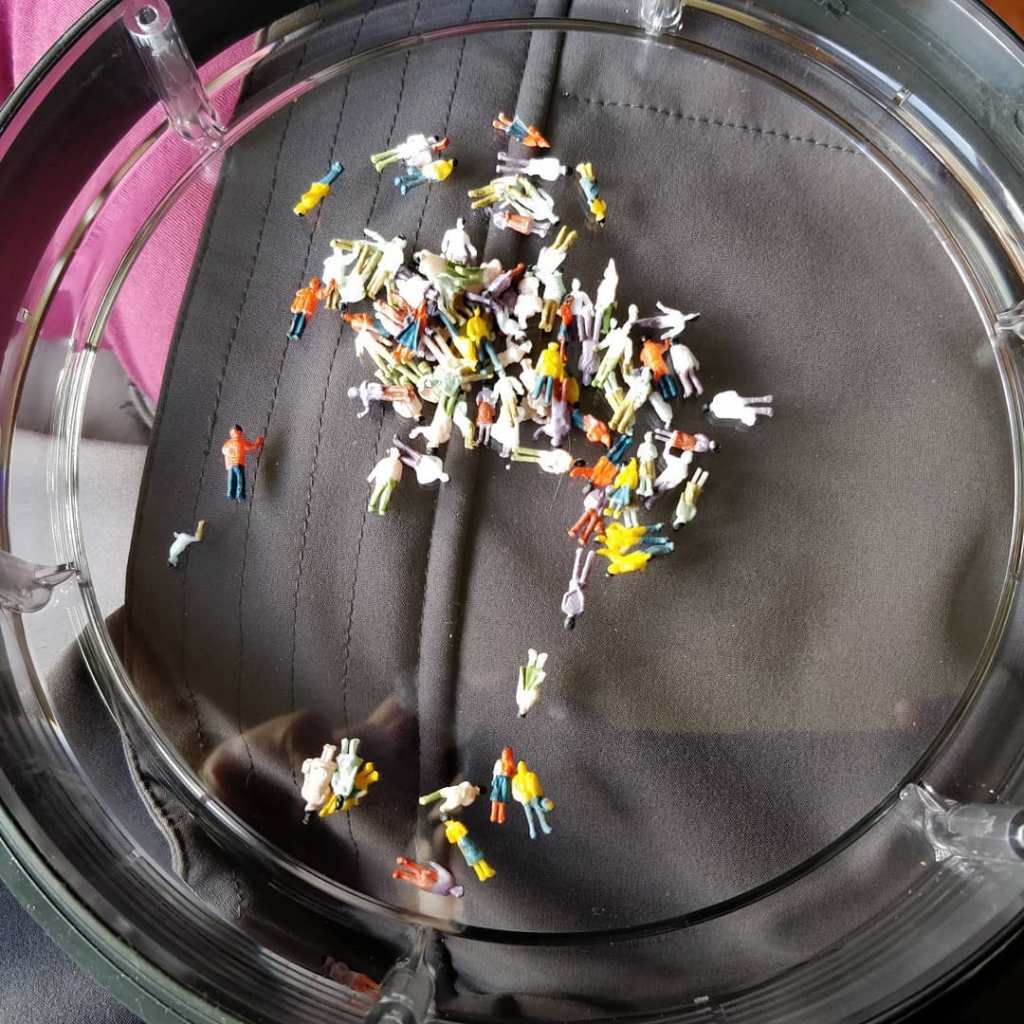
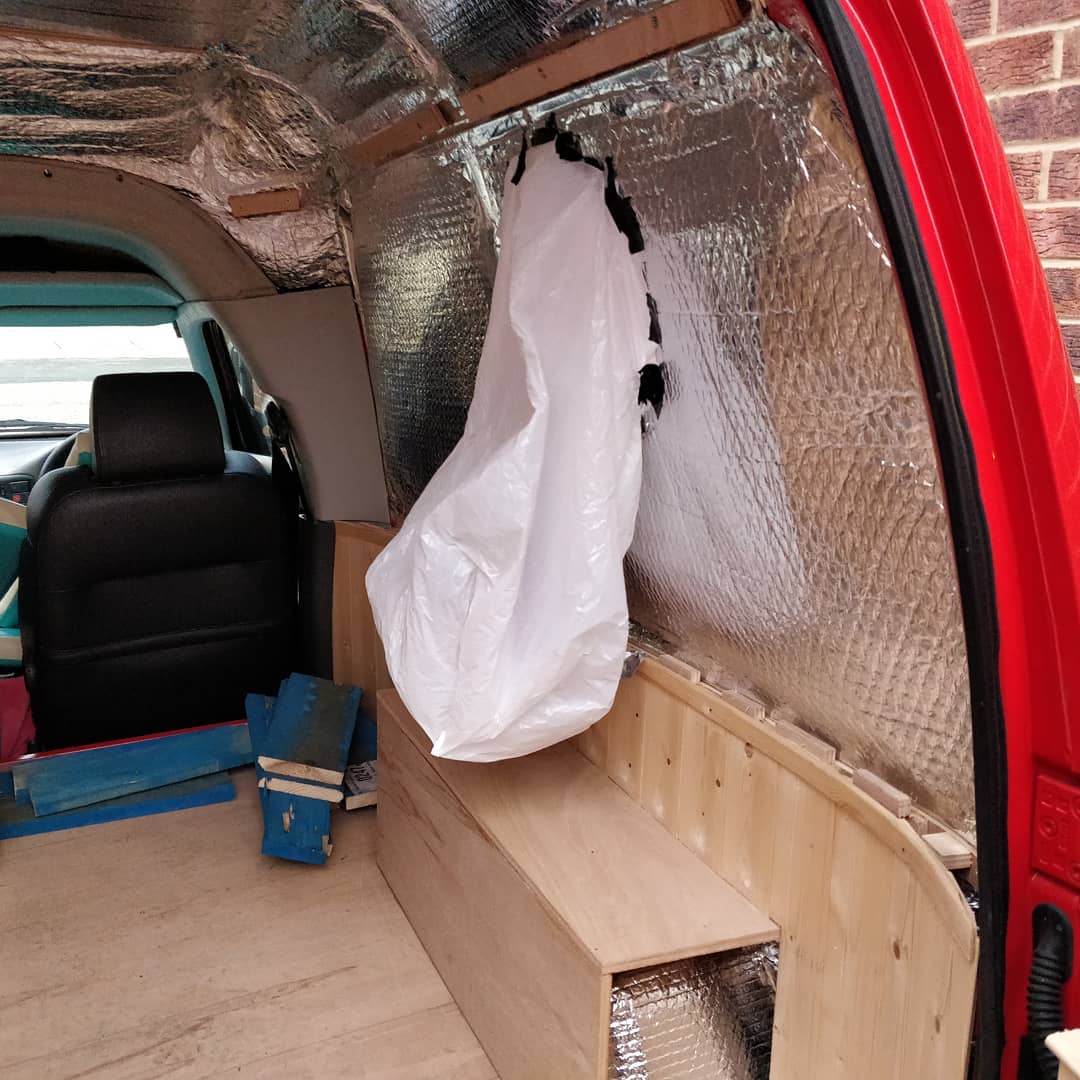
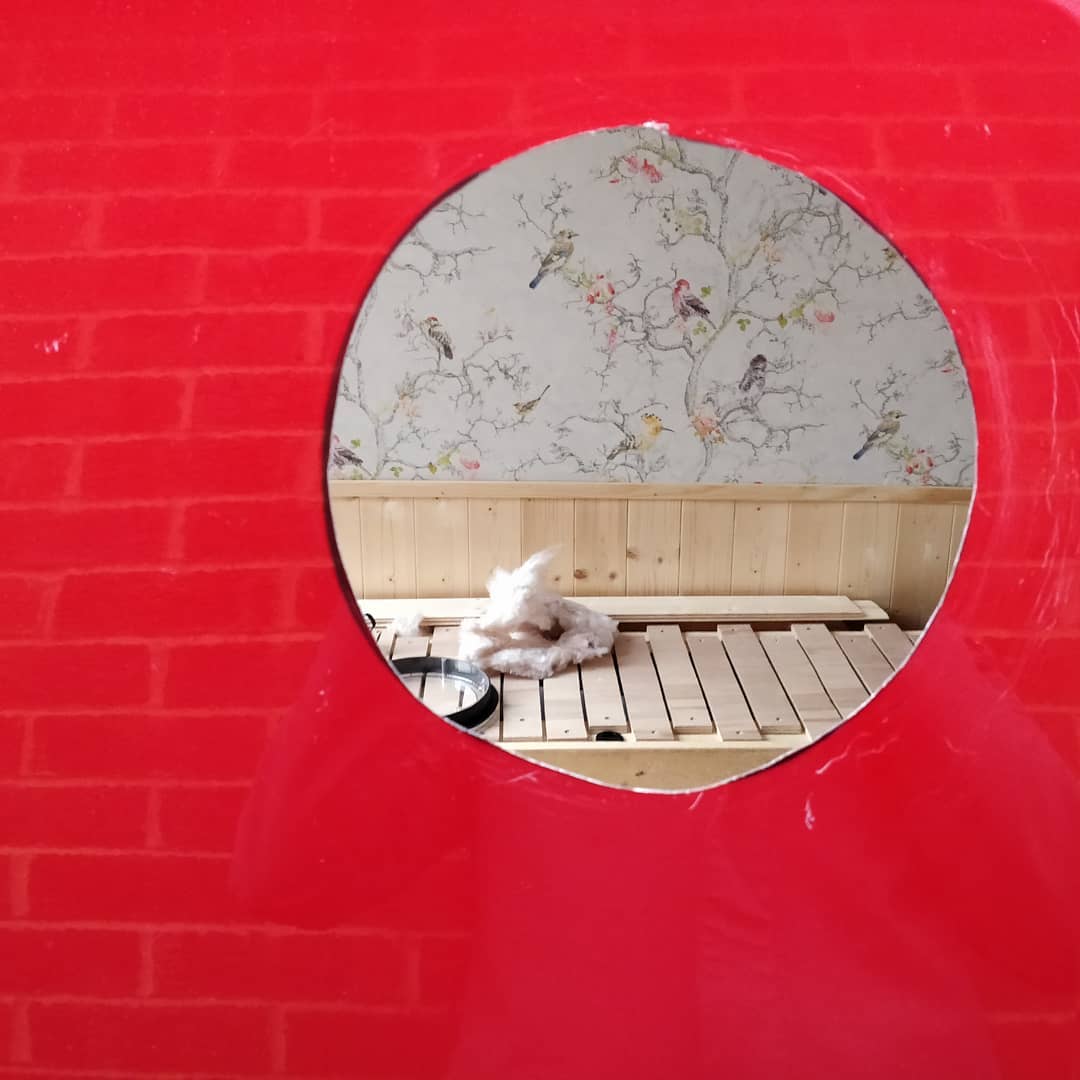
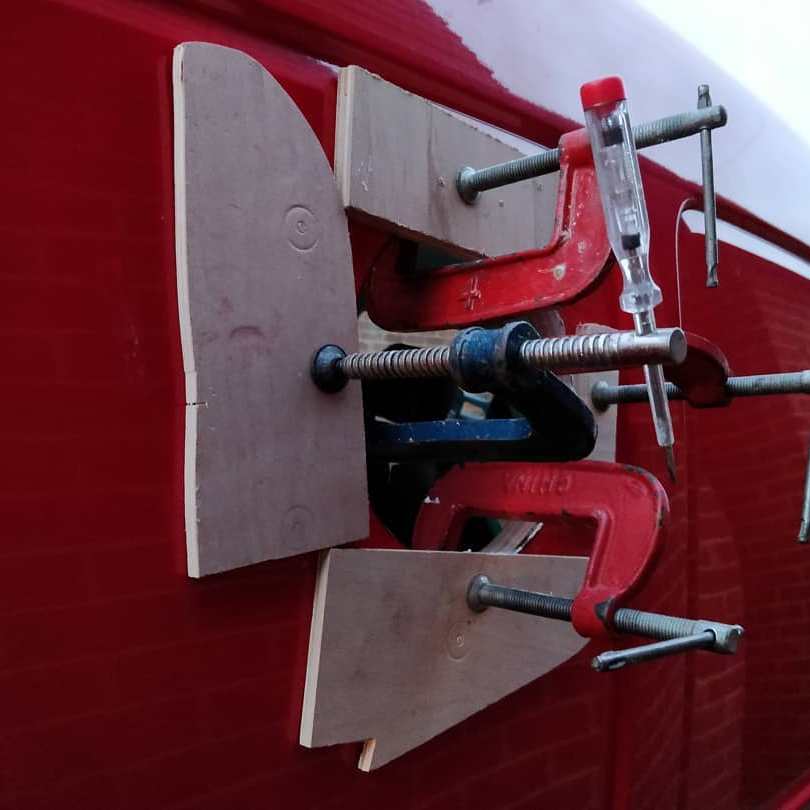
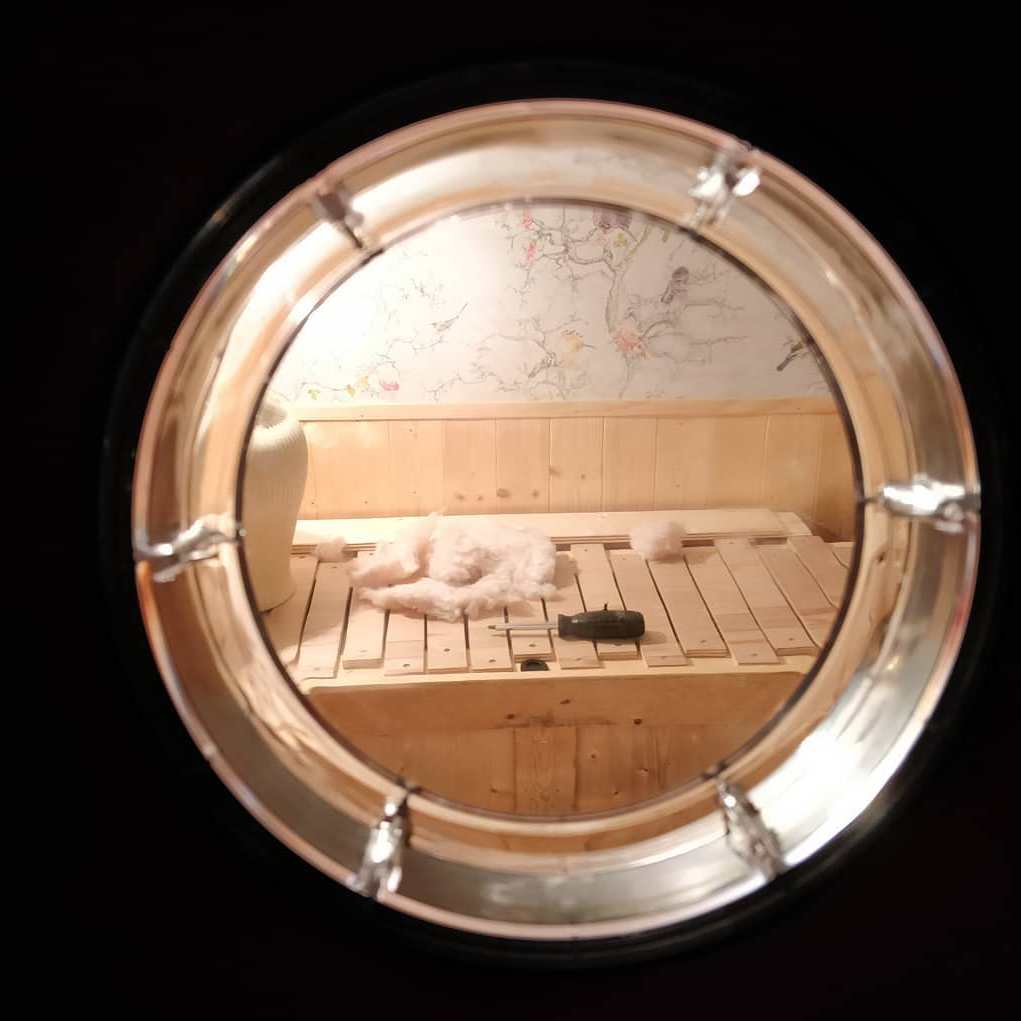
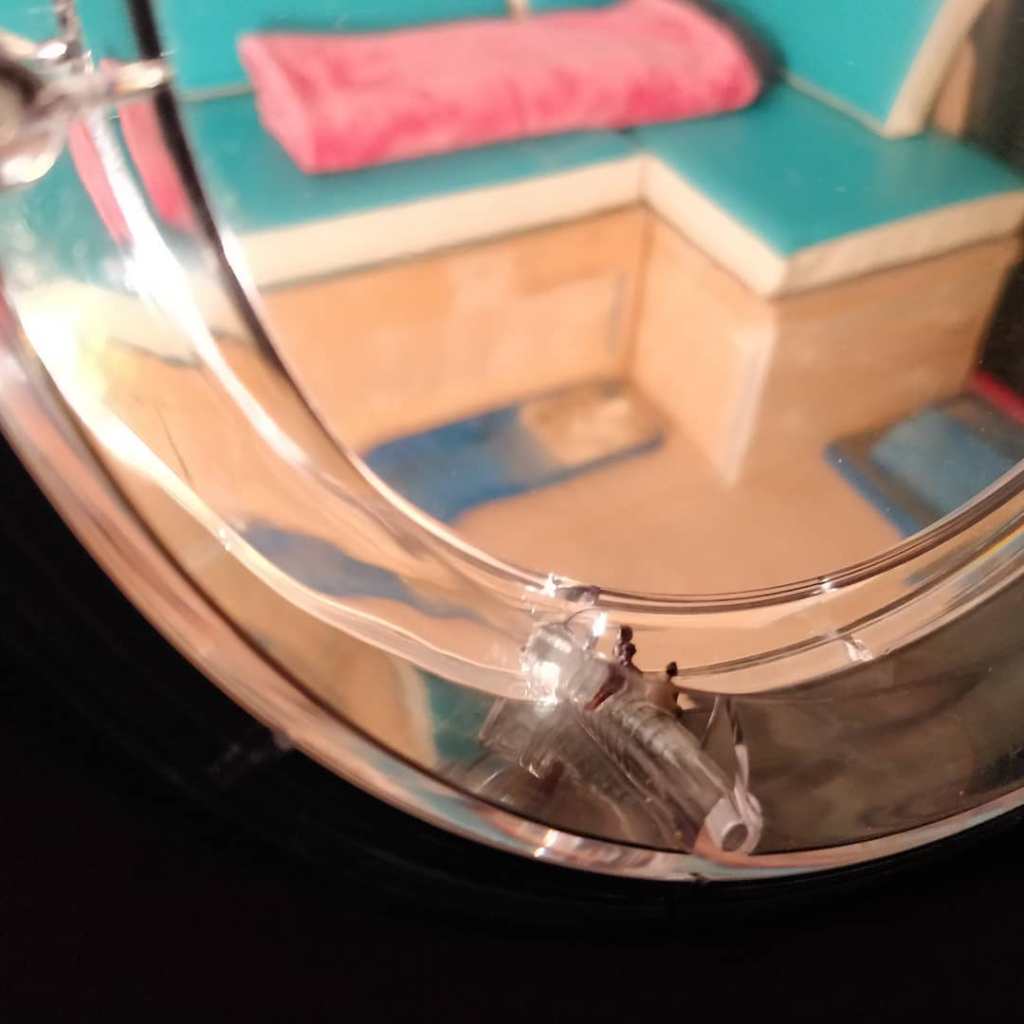
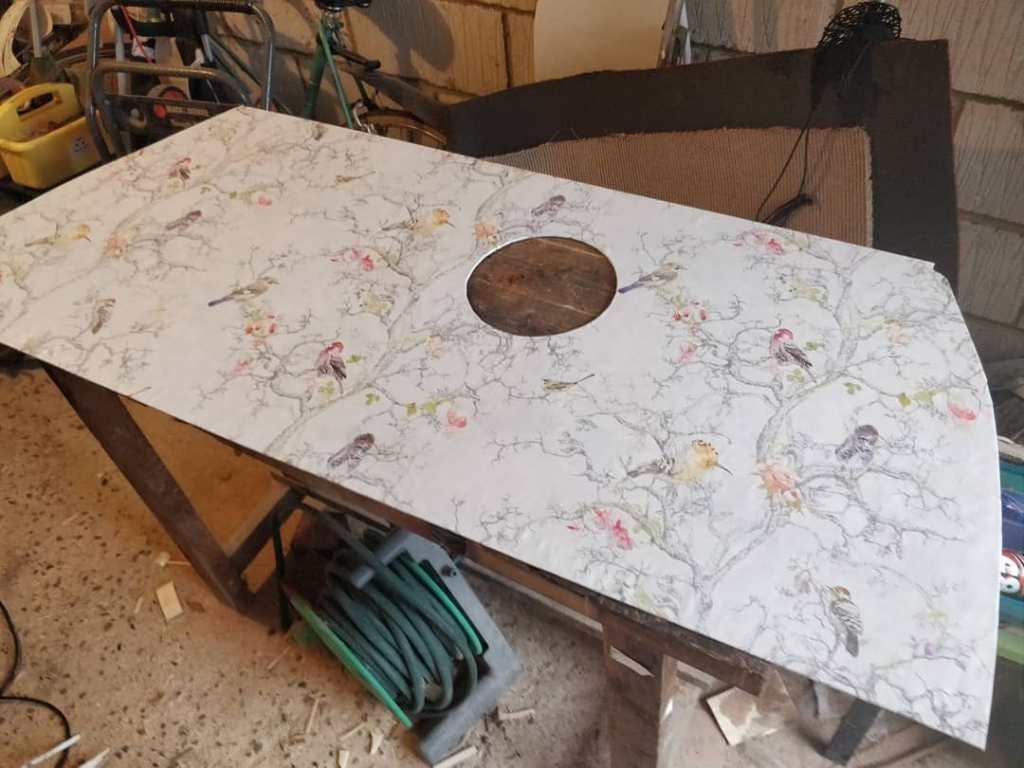
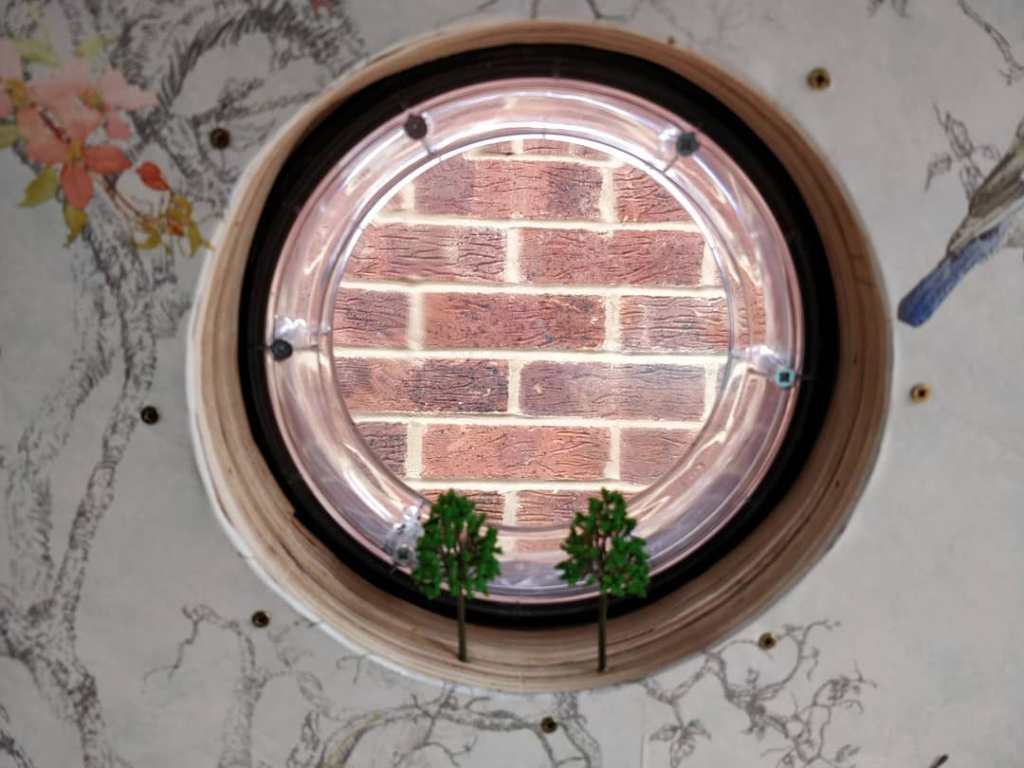
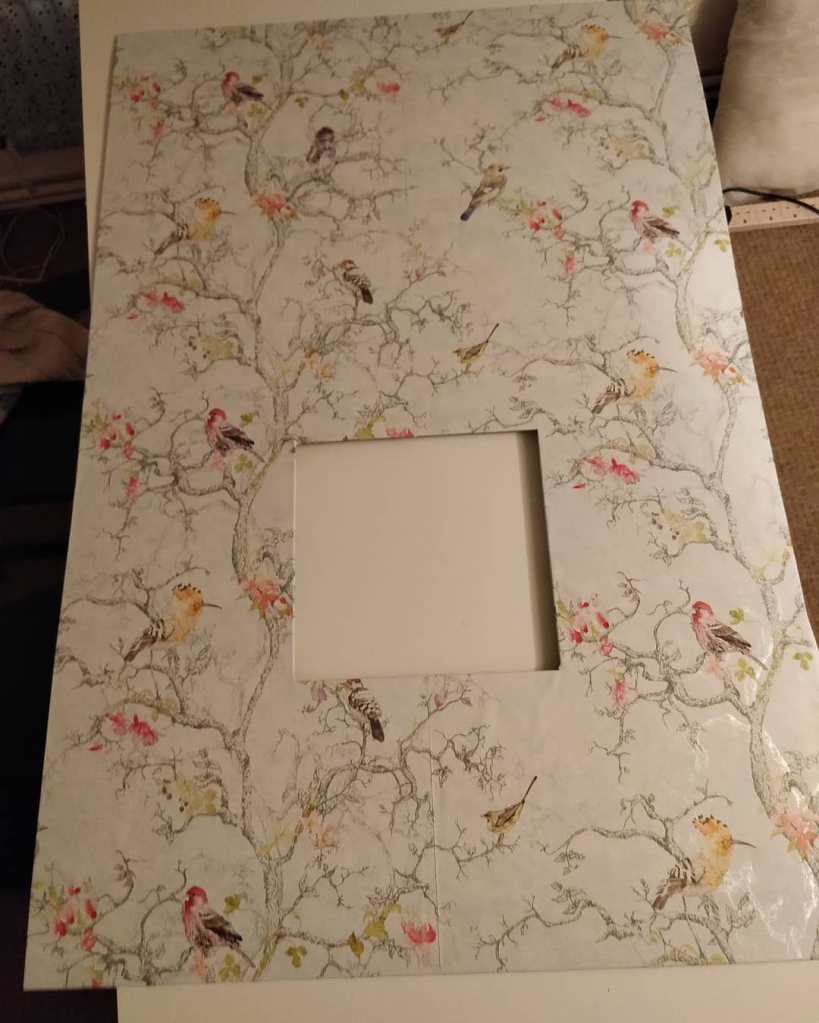
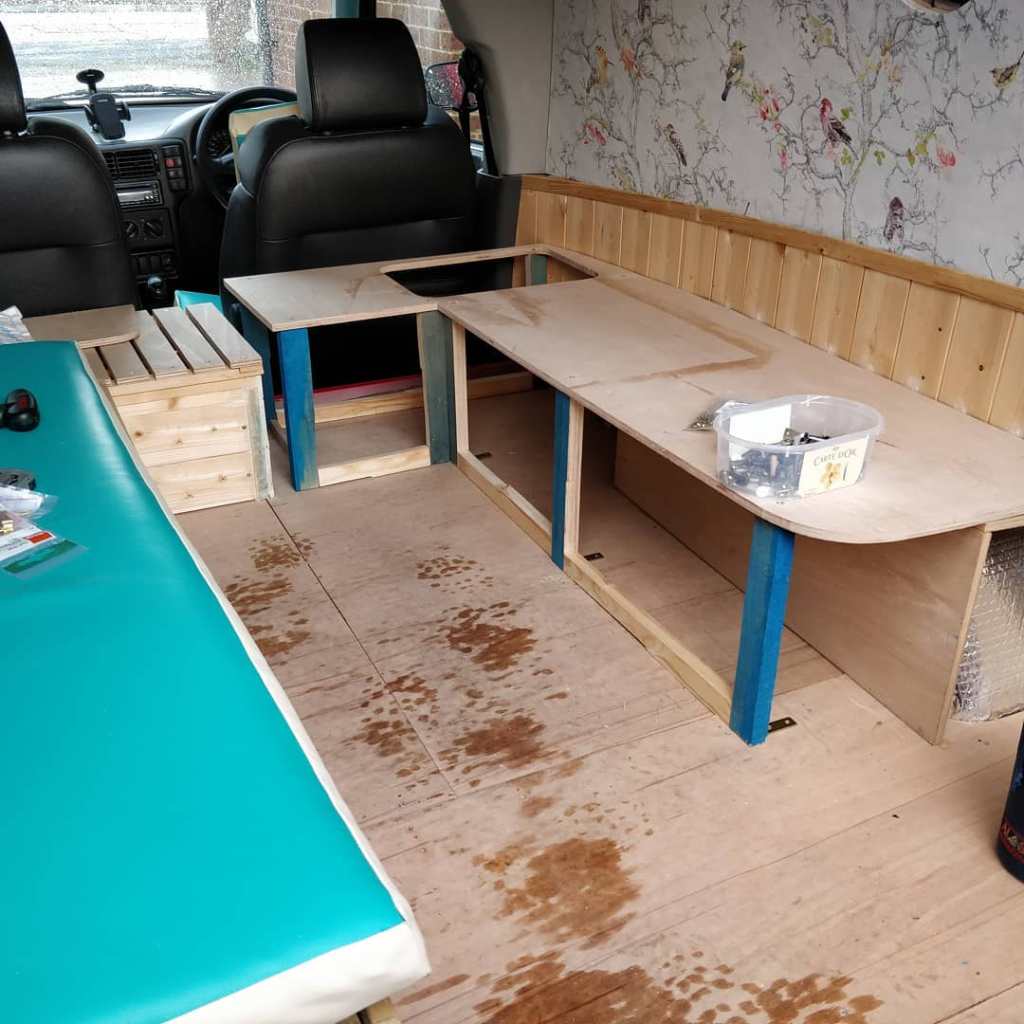
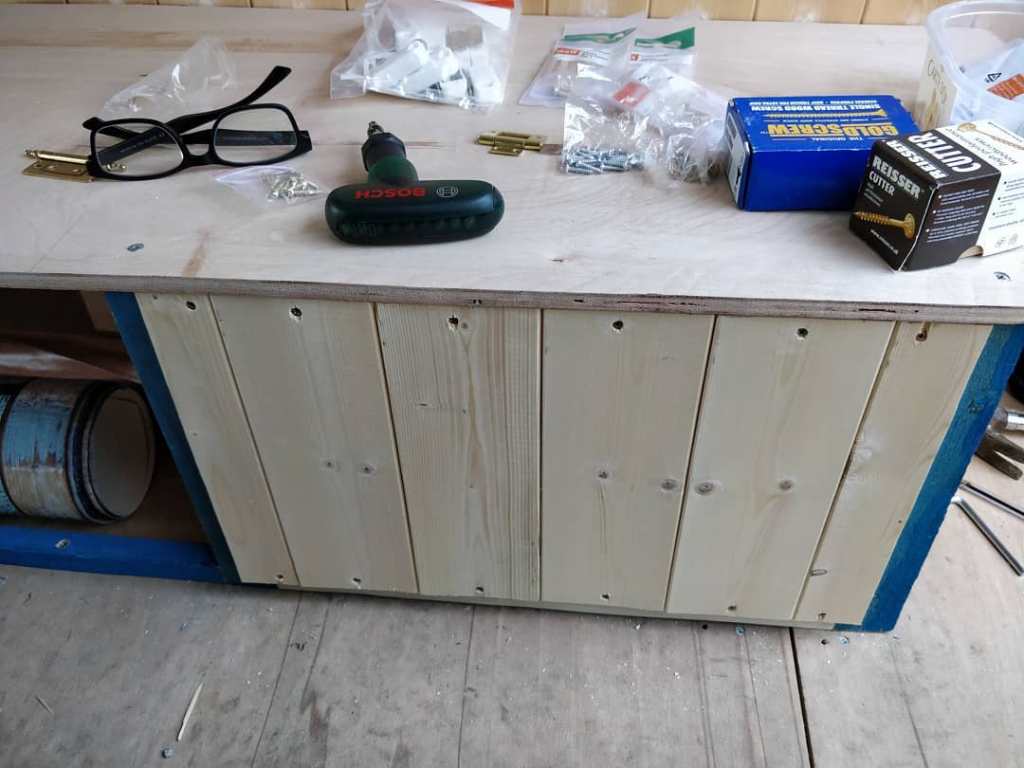
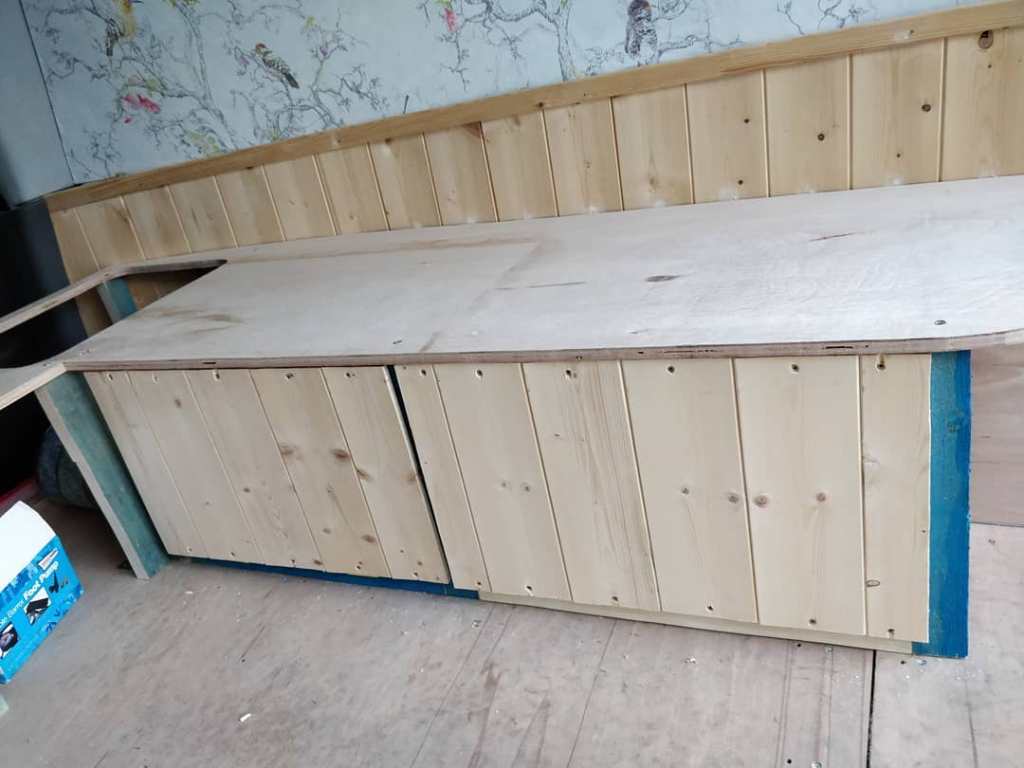
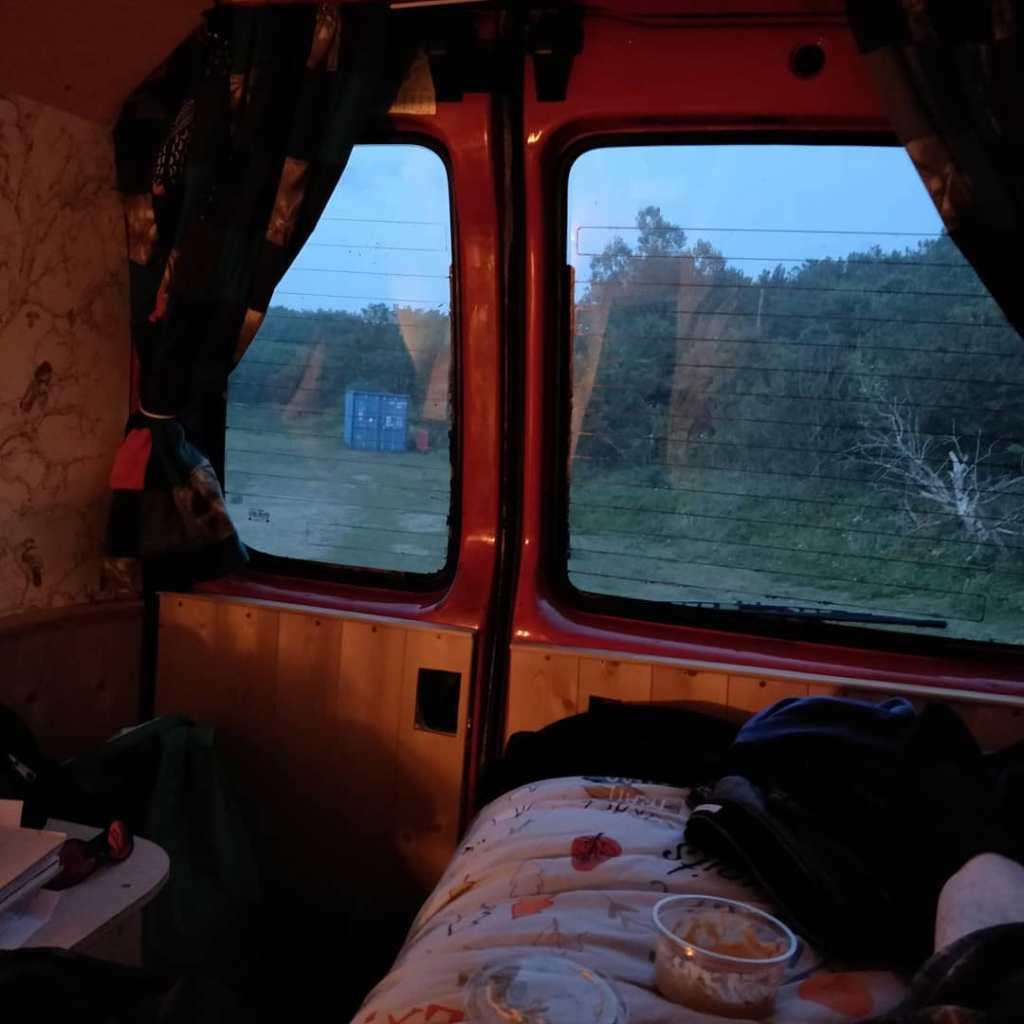
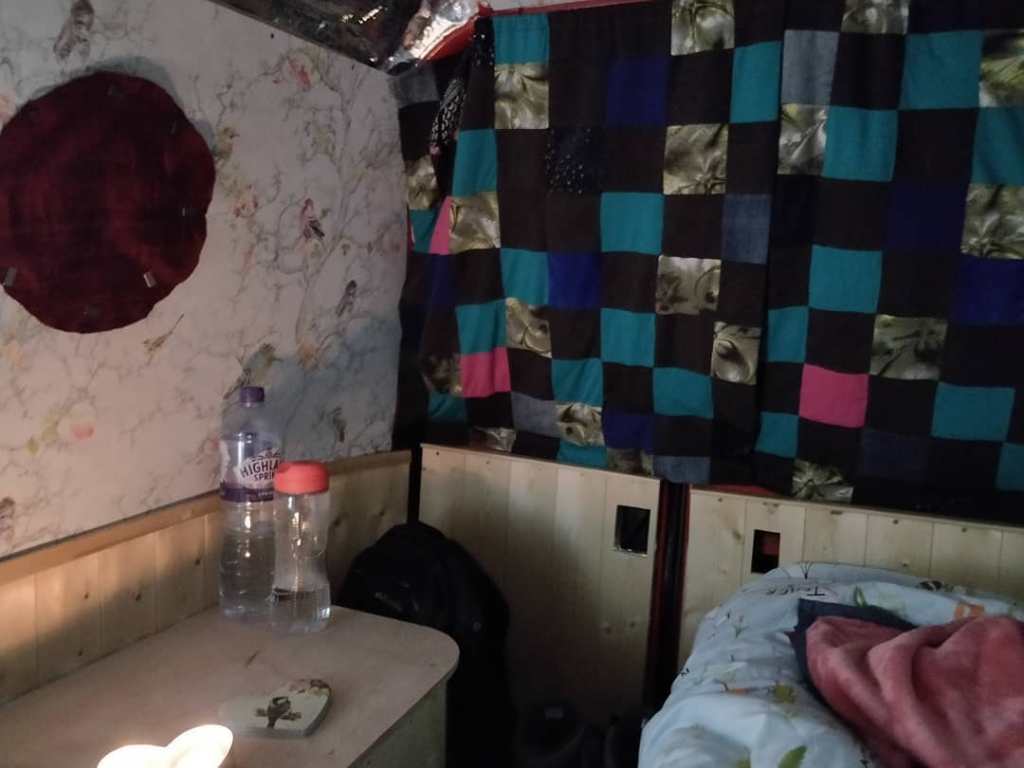
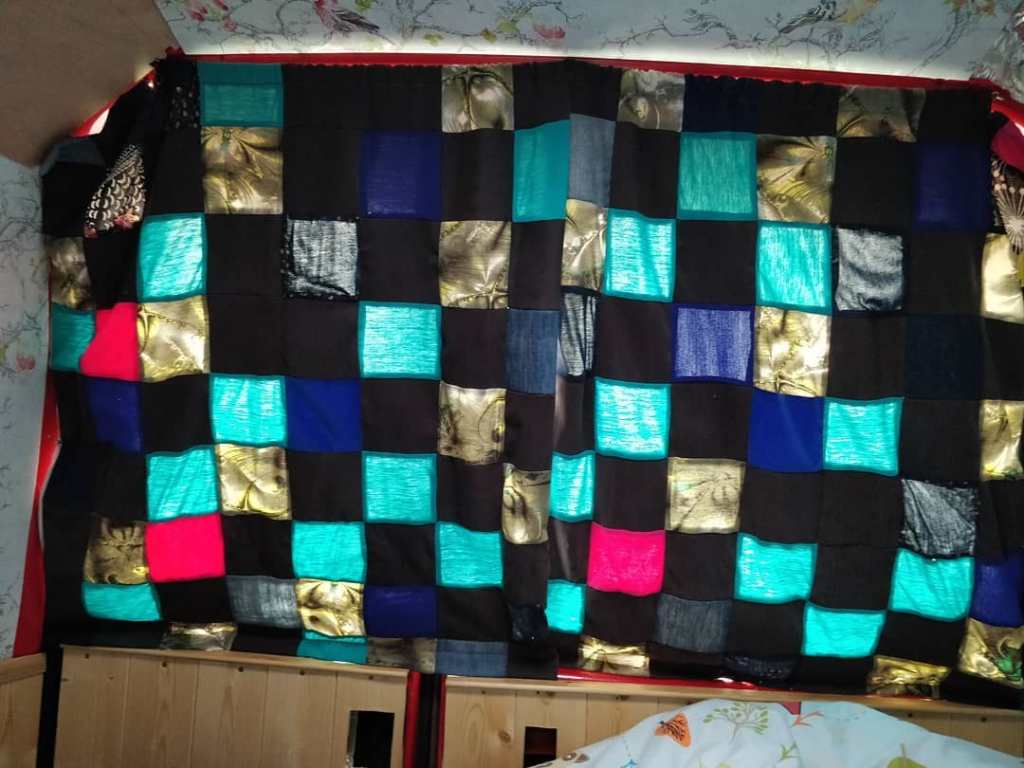
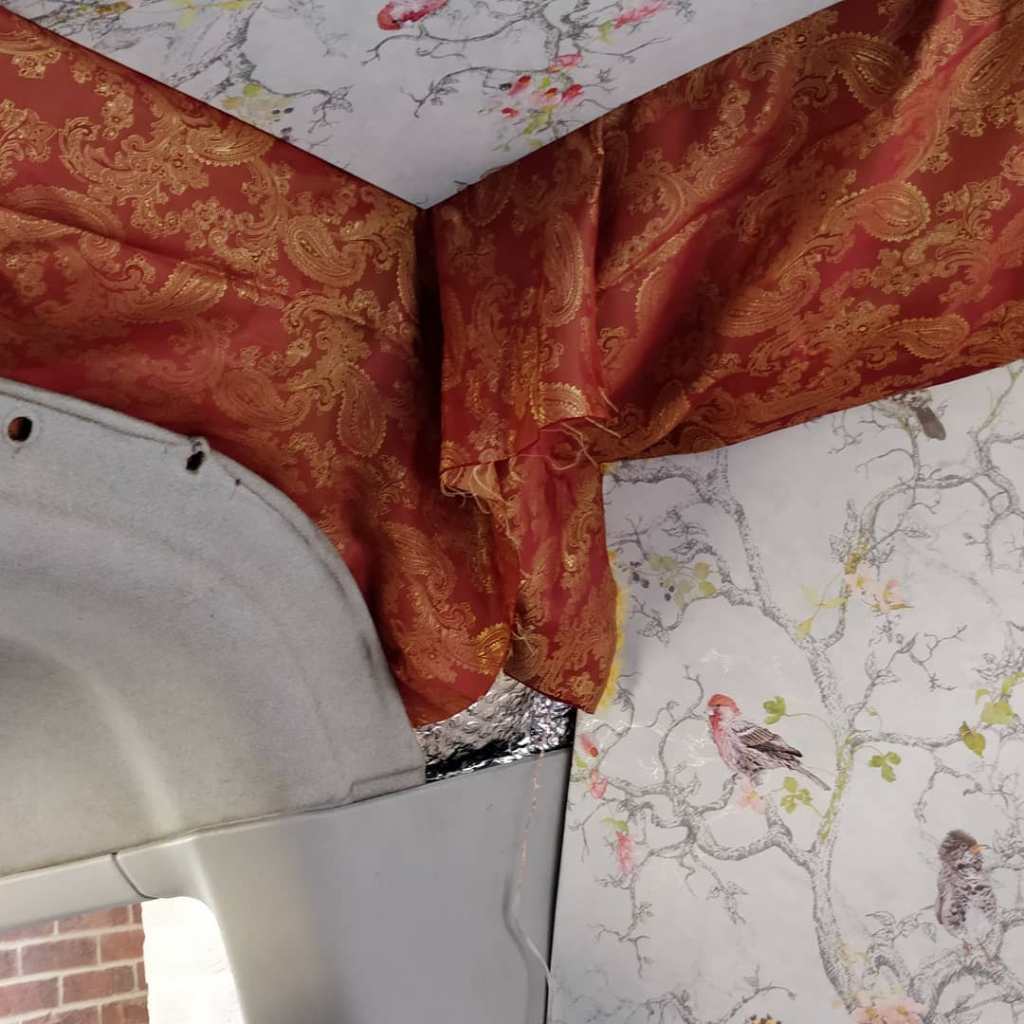
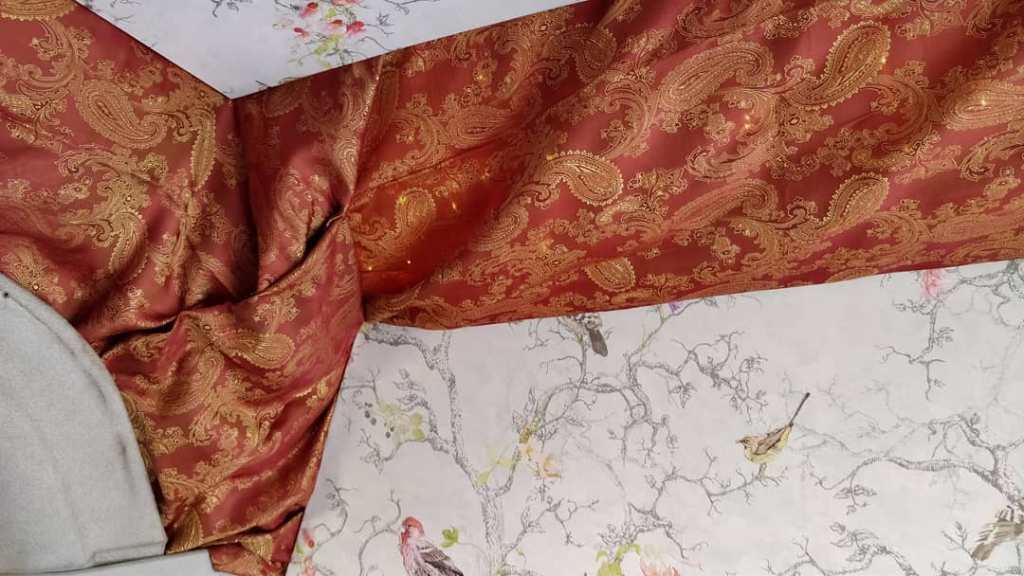
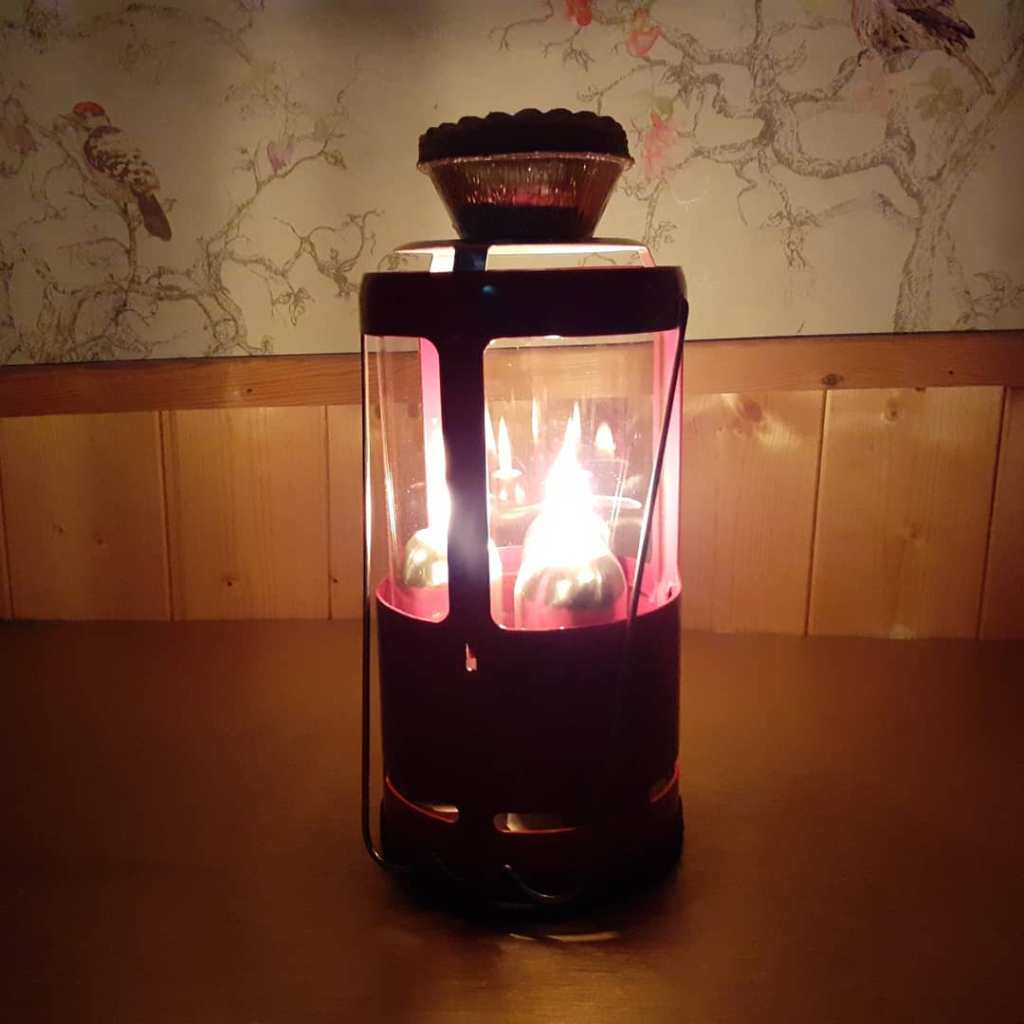
This is my van, Two Trees, and you’ll see why it’s called that when you see the porthole. I bought Two Trees in May 2018 and converted it into a tiny camper. I was incredibly lucky to have an amazing friend, Margaret, who let me park on her driveway for many hours to work on my van. She also taught me how to use power tools (yes!) and some woodworking techniques. We discussed creative ideas and how to bring them into reality. I could not have done this without her and am so grateful for her. Scroll down to see its transformation from light goods vehicle to camper-for-one.Greg Virgoe’s YouTube video on installing a skylight proved invaluable. I wrote down his steps and followed them to the letter. This is the frame I made for the skylight. Next step: cut a hole in the roof of the van – eek!The exhilaration as the metal square fell into the plastic bag was immense!Cutting a hole in the roof was scary and it was a relief when it was done. It all went smoothly with a bit of labour breathing. That’s Margaret in the photo.The frame needed to be glued to the roof and held in place with clamps until the glue dried.Once the frame was firmly stuck, it was simply a matter of laying mastic, screwing the internal and external parts together, then laying a bead of silicon to waterproof the outside.The rain came but didn’t get in!In order to lay the floor, I filled holes and rust proofed them before gluing batons to the metal.I insulated the floor with aluminium bubble wrap.Then laid 18mm plywood.Once the floor was in, I insulated the walls using recycled plastic insulation, covering it with aluminium bubble wrap. The wheel arches were boxed in using wood glue and tacks. I made batons and installed them along the van’s curves so there was something to attach the wood cladding to.On a trip to B&Q we picked up some finishing trim for free because it was discontinued. Margaret shaped it by soaking it in hot water before we attached it to the cladding.It was satisfying to see the finished cladding!This was my original plan for the bed. The idea was to make it on the offside, but the wheel arch on that side is higher than on the nearside. That would have meant sacrificing a few inches of head height whilst seated on the bed so we switched it to the nearside.We picked up some wooden pallets off the street. These things are abundant and you can make loads of things with them. We got some nice pieces of wood for the bed. I used Van Dog Traveller’s bed design as a starting point for the design and had lots of conversations about how to make it work…The second part of the bed is a fixed-in-place cupboard with a hinged board on top that rests on the back of the passenger seat when it’s sleepy time.Like this! Just roll the passenger seat down and the bed is a full size single. Next, I needed to make a seat mattress.I ordered a single memory foam mattress. I cut it to size and shape using Margaret’s ironing board and electric kitchen knife. It went through the memory foam like a hot knife through vegan butter! Lovely!And now it’s ready for its faux leather cover, which turned out to be complicated to make…The end result was worth it!Next came the first wall. The photo makes it look like it was easy. It wasn’t. It was fiddly. I used 6mm ply and Margaret’s help to check the fit, make a tweak, and repeat, many, many times.I added PVC glue to the wallpaper paste to make sure the wallpaper really stuck to the ply. It’s beautiful wallpaper. I also made a blanket from pink fleece and edged it with denim (also something I’d never done before).On a whim, I decided to install a porthole before adding the ply wall to other side of the van. We vastly underestimated the width of the frame at first. It took lots of gluing more pieces of 12mm ply together and cutting out the circle shape before it finally fitted.Whilst waiting for glue to dry I selected the tiny people I wanted to sit inside the porthole.I think you can just about see the little people.Next came the wallpapering of the plywood wall and praying to the gods of small van conversions that it would fit exactly in line with the porthole (even though we measured it many times).And it did fit! So I added two trees, and the van’s name was established.The ceiling needed to go in, with space for the skylight. Margaret was on hand to stop me papering the birds upside down and I’m glad she did!Away from Margaret’s driveway, I was sewing squares together, partly because I enjoy it and partly to make a cover for my pillow to go in the van. I used material from old clothes to make the squares.I needed some cupboard space to keep kitchen equipment and food. I made a template using newspaper to capture the curve of the van and then cut this piece of ply.This part of the project kind of flowed and I enjoyed making the legs…and the cladding doors. I did not enjoy fitting the magnets to keep the doors closed. That was very fiddly.Looks good though.The van felt cosy when I went to Ormskirk to interview for my university Masters course.I’d made curtains from squares, with magnets sewn in to stick to the metal. I also made a cover for the porthole using magnets to attach to the screw heads.I love the stained glass effect of the lighter colour squares in the morning sunshine. I wasn’t keen on the ply I’d inserted between the wall and ceiling on the left.Earlier in the year my mum gave me some material so I thought it might look great to finish the space between the walls and ceiling.Not bad…Especially with LED fairy lights behind it.What could be better, at the end of a long day, when it’s cold outside, to warm a vegan mince pie on the candelier? Mmmm.
11 thoughts on “Two Trees Van Conversion (2019)”
I was full of admiration for your conversion when I saw Two Trees in the summer. Reading through this shows that I hadn’t understood half of what was involved. It’s so impressive! I hope you’re justifiably very proud of what you’ve created Julia. I love what you’ve achieved. When I get my van (eventually) I’ll definitely be coming to you for advice. ❤
Thanks,Jen! There was a lot of time, effort and learning involved. I am very proud of Two Trees. One thing I would do differently is make the bed bigger :). I would be honoured to advise on your van conversion and very excited to be part of it 🙂 <3
I’m in Awe -what a wonderful achievement ! I’ve an eldis
hi ace conversion (20 yrs old and still running well) can’t imagine doing my own. Fabulous !!
Ah, thank you so much, Gina! It was very scary at times but empowering!
Wow what an amazing job u did Julia it looks fantastic. X
Hey, Sandra! Thanks so much! So kind! Hope all is well with you! <3
This is amazing!
Thank you for documenting all the steps, it was very interesting to read.
Hey Matteo, thank you! So glad you enjoyed it! 🙂
Wow! Quite an undertaking. Thank you for your detailed share of the process and I am happy for you for a job well done.
Thank you, Helena! I’m glad you enjoyed it! It was a labour of love! 🙂